 Pin It
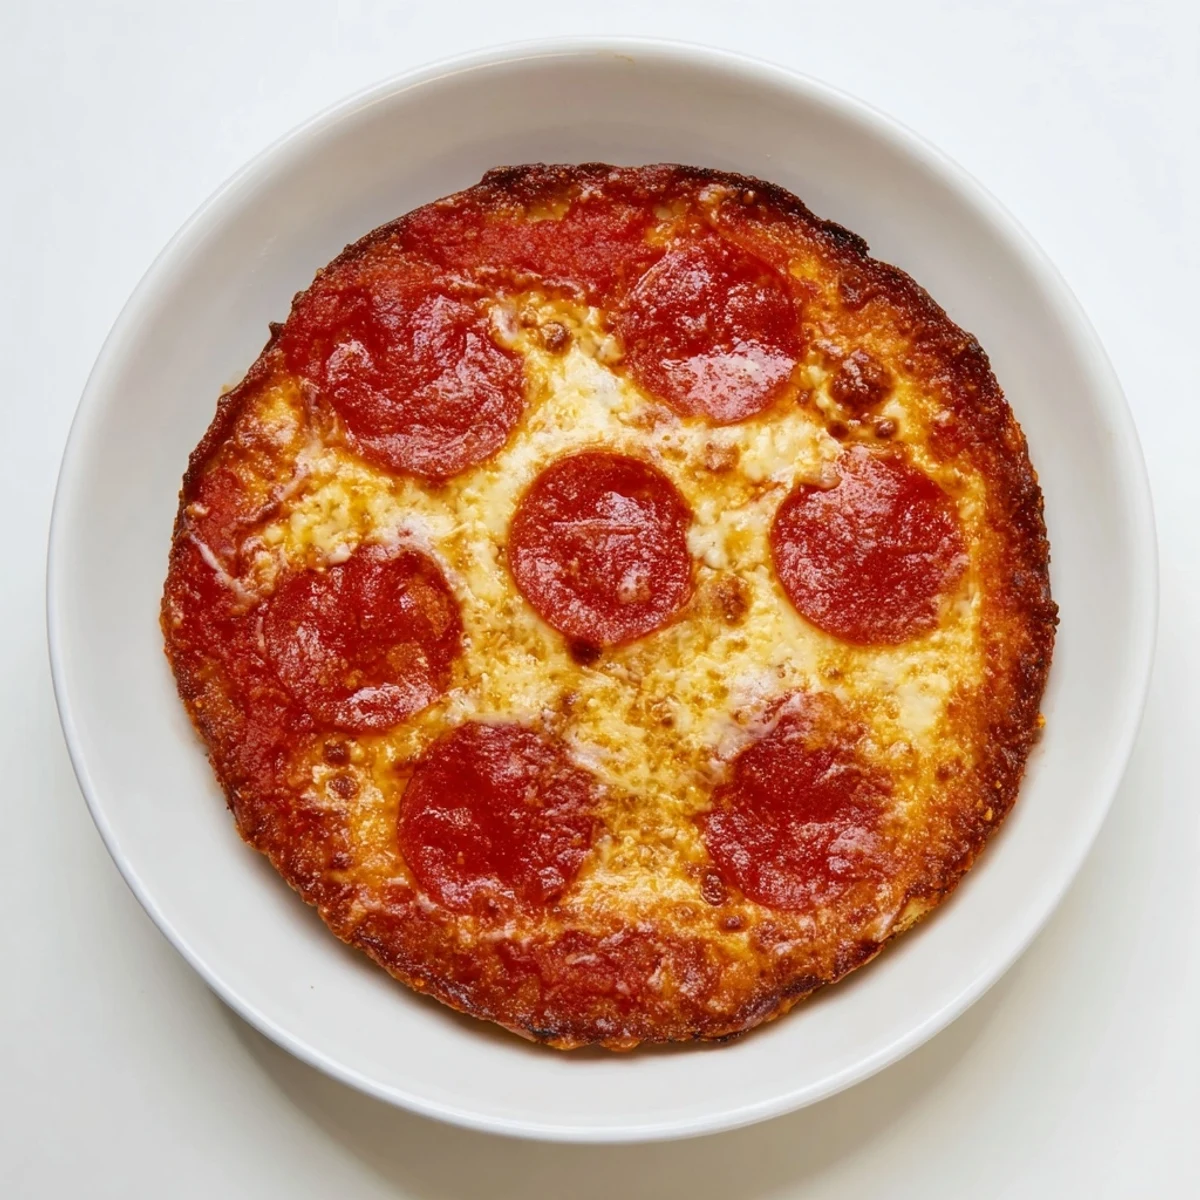
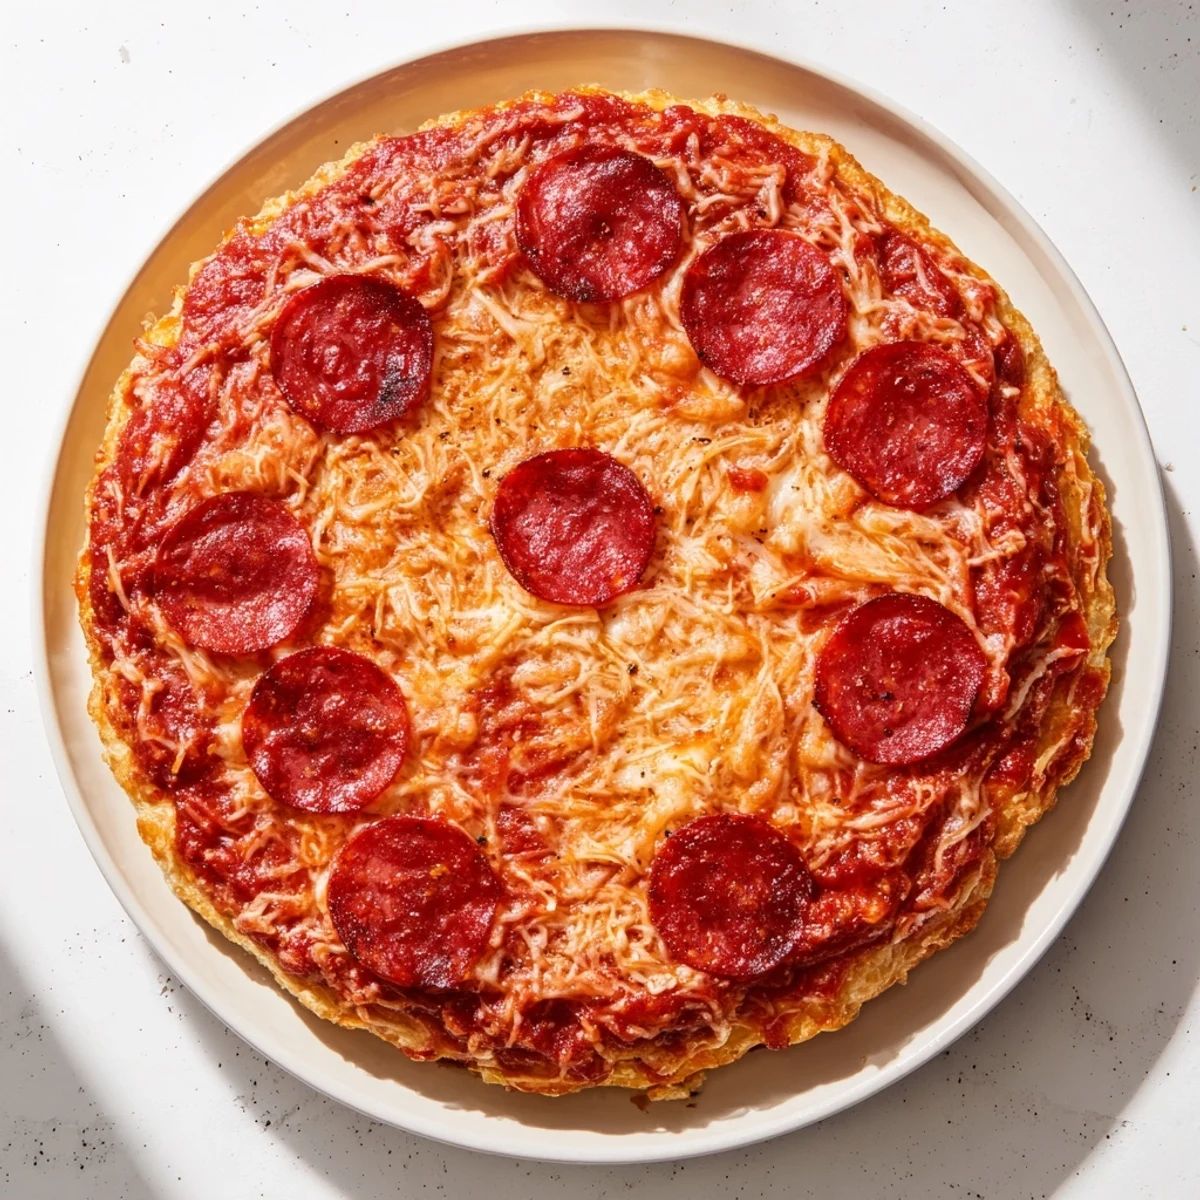
 Master the art of creating authentic pan-style pizza with a thick golden crust that's crispy on the outside yet incredibly soft and chewy inside. The dough requires just 45 minutes to rise, and the secret to achieving those signature crunchy edges lies in generously buttering your cake pans before baking. The homemade tomato sauce blends dried oregano, basil, garlic powder, and onion powder for that familiar savory profile. Top with shredded mozzarella and your favorite toppings, then brush the crust edges with olive oil for that beautiful golden finish. Bake at high heat until the cheese bubbles and the bottom develops that characteristic crunch. This method yields two medium pizzas perfect for sharing, delivering restaurant-quality results right from your home oven.
The smell of butter hitting a hot cake pan takes me back to Friday nights when my dad would declare it official homemade pizza night. We never had fancy pizza stones or peel, just well loved cake pans that had seen decades of pepperoni and melted cheese. Something about that thick, golden crust with those crispy fried edges just hits different.
I made this for my roommates during our first apartment year, and the way the kitchen filled with that familiar yeasty, buttery aroma made our tiny place feel like home. We stood around the oven watching the cheese bubble through the oven door, practically drooling.
Ingredients
- All-purpose flour: The backbone of your dough, providing structure and that satisfying chew we all love
- Active dry yeast: Your rising agent, make sure your water is warm not hot to keep those yeast babies happy and active
- Sugar: Feeds the yeast and helps achieve that beautiful golden brown color in the oven
- Salt: Essential for flavor, dont skip it or your dough will taste flat and sad
- Warm water: Should feel like bath temperature, around 110 degrees Fahrenheit for optimal yeast activation
- Olive oil: Keeps the dough tender and adds subtle richness to the crumb
- Unsalted butter: The secret weapon for creating that crispy, fried crust edge in the pan
- Canned tomato sauce: A simple base that transforms with dried herbs into something magical
- Dried oregano and basil: Classic Italian herbs that give the sauce that familiar pizzeria flavor
- Garlic and onion powder: Depth builders that make the sauce taste like it simmered for hours
- Shredded mozzarella: The melt master, go for full fat for best stretching and bubbling action
- Pepperoni or toppings: Customize to your hearts content but let the cheese shine through
Instructions
- Wake up the yeast:
- Dissolve the sugar and yeast in warm water, watching for that beautiful foam to form like magic
- Build the dough:
- Mix flour and salt in a large bowl, then pour in your yeast mixture and olive oil until a rough shaggy dough forms
- Knead it out:
- Work the dough on a floured surface for 7 to 8 minutes until it transforms into something smooth and elastic under your hands
- Let it rise:
- Place your dough in an oiled bowl, cover it up, and let it hang out in a warm spot for about an hour until it doubles in size
- Prep your pans:
- Generously grease two 9 inch cake pans with softened butter, then add a quick brush of olive oil for that extra crispy bottom
- Shape the crusts:
- Divide the dough in half and press each portion into the prepared pans, pushing the dough slightly up the sides
- Rest again:
- Cover the pans and let the dough relax for 10 to 15 minutes while you preheat the oven to 450 degrees
- Mix the sauce:
- Combine tomato sauce with oregano, basil, garlic powder, onion powder, sugar, salt and pepper in a small bowl
- Assemble:
- Spread sauce on each crust, sprinkle with cheese, add your toppings, and brush the exposed crust with olive oil
- Bake to perfection:
- Slide those pans into the hot oven for 20 to 25 minutes until the crust is golden and the cheese is bubbling like crazy
 Pin It
 My little brother took one bite of this and immediately asked why we ever ordered delivery, which might be the highest compliment a homemade pizza can receive. The way the crunch gives way to that soft interior is just something special.
Making It Your Own
The beauty of pan pizza is how customizable it becomes once you master the base. I have experimented with everything from BBQ chicken to white sauce with spinach and artichokes, and each variation has its own merits.
Timing Is Everything
Planning ahead makes all the difference with this recipe. The dough needs that full hour to rise properly, so start it about 90 minutes before you want to eat to account for prep and baking time.
Serving Suggestions
A cold beer or fizzy soda alongside a slice of this pan pizza is basically perfection. Keep it simple and let the pizza be the star.
- Let the pizza rest for a few minutes before slicing to prevent all that cheese from sliding off
- Leftovers reheat surprisingly well in a skillet over medium heat
- The dough can be made ahead and stored in the fridge for up to 24 hours
 Pin It
 There is something deeply satisfying about pulling a golden, bubbling pan pizza from your own oven. Friday nights just got a whole lot better.
Recipe Q&A
- → What makes pan pizza different from regular pizza?
-
Pan pizza features a thicker crust that's baked in a deep pan, creating a crispy bottom and soft interior. The oil and butter in the pan creates that signature golden crunchy edge while the dough remains fluffy and chewy throughout.
- → Why use cake pans instead of pizza pans?
-
Cake pans with straight sides help the dough rise upward rather than outward, creating that thick fluffy texture. The butter coating on the pan bottom ensures the crust fries slightly while baking, developing extra crispness and rich flavor.
- → Can I let the dough rise overnight?
-
Absolutely. Slow overnight fermentation in the refrigerator develops deeper flavor and improves the dough's texture. Let it come to room temperature for about 30 minutes before pressing it into the pans.
- → How do I get the crust extra crispy?
-
Brush your pans generously with softened butter before adding the dough. During baking, the butter fries the bottom crust. Also, brush the exposed crust edges with olive oil before baking for golden crunchiness.
- → What temperature should the water be for the yeast?
-
Use warm water around 110°F (43°C) - think bathwater temperature. Water that's too hot can kill the yeast, while water that's too cool won't activate it properly. Test with your wrist; it should feel comfortably warm.
- → Can I freeze the dough for later use?
-
Yes, after the first rise, punch down the dough, wrap it tightly in plastic, and freeze for up to 3 months. Thaw overnight in the refrigerator, then let it come to room temperature before shaping and baking.