 Pin It
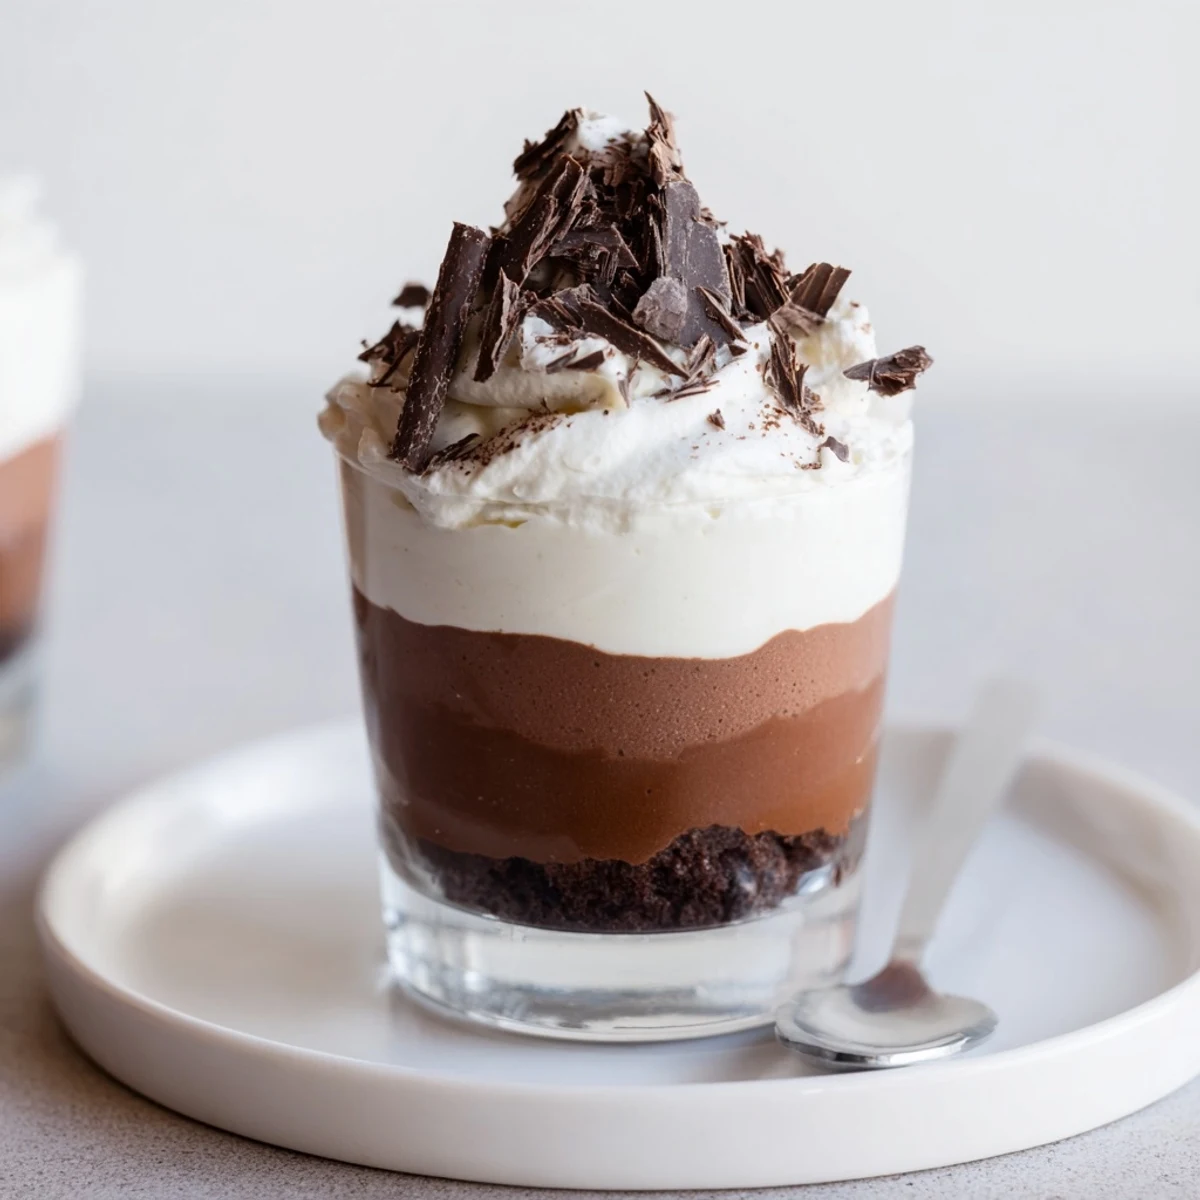
 Melt and cool three chocolates separately, whisk each yolk with sugar, fold in melted chocolate, and gently fold in softly whipped cream to retain air. Pipe or spoon dark, milk, then white mousses into cups, chilling between layers to set. Chill all for at least an hour before serving. Use high‑quality chocolates, chill briefly in freezer to speed layers, and garnish with shavings.
Chocolate has a way of turning any day around, so when I first stumbled upon the idea of triple chocolate mousse cups it felt much like discovering a culinary secret. My kitchen that afternoon was a flurry of activity and quiet anticipation as three types of chocolate melted in separate bowls on the counter. The scent grew richer with each layer and by the time the white chocolate mousse was ready, I found myself grinning at how those glossy cups looked lined up on my fridge shelf. Even before tasting, I sensed these would be a frequent request.
The first time I served these to friends was a rainy evening, and the gentle hum of chatter was punctuated only by curious spoons scraping through each layer. Watching everyone compare favorites—dark, milk, or white—made all the effort feel happily justified.
Ingredients
- Dark chocolate (100 g, minimum 60% cocoa): I always go for a reputable brand for the deep, bittersweet flavor—melting it slowly is key to a silky mousse.
- Egg yolk (1 per mousse layer): Whisked with sugar, the yolks create that classic French mousse richness without heaviness.
- Sugar (1 1/2 tbsp per layer): This sweetens just enough to balance every type of chocolate—taste before folding if your chocolate is particularly sweet or strong.
- Heavy cream (100 ml per layer, cold): Cold cream whips up fluffier, lighter mousse; keep it in the fridge until you are ready.
- Milk chocolate (100 g): Melts fast and brings a creamy, childhood comfort to the blend—don’t let it overheat or it can seize.
- White chocolate (100 g): This layer is quite sweet and smooth and is easiest to pipe if you let it chill a little before layering.
- Shaved chocolate or cocoa powder: Just before serving, these little touches turn a simple mousse cup into something special and photo-worthy.
Instructions
- Dark chocolate foundations:
- Melt your dark chocolate slowly—steam rising from the bain-marie always makes me pause and inhale—then let it cool a bit. Whisk the egg yolk with sugar until creamy, gently fold in the warm chocolate, and finally fold in the whipped cream until it’s glossy and smooth; divide this dark silk among your serving cups and refrigerate.
- Layer the milk chocolate:
- Repeat the melting, whisking, and folding with the milk chocolate and its partners. When spooning over the dark layer, move slow and steady to keep colors separated—an offset spatula or piping bag helps.
- White chocolate finale:
- Handle white chocolate delicately as it can seize in a blink—melt, cool, whisk with yolk and sugar, and gently fold in the whipped cream. Pipe or spoon it atop the milk chocolate, smoothing the surface lightly, and chill all cups for at least an hour.
- The final flourish:
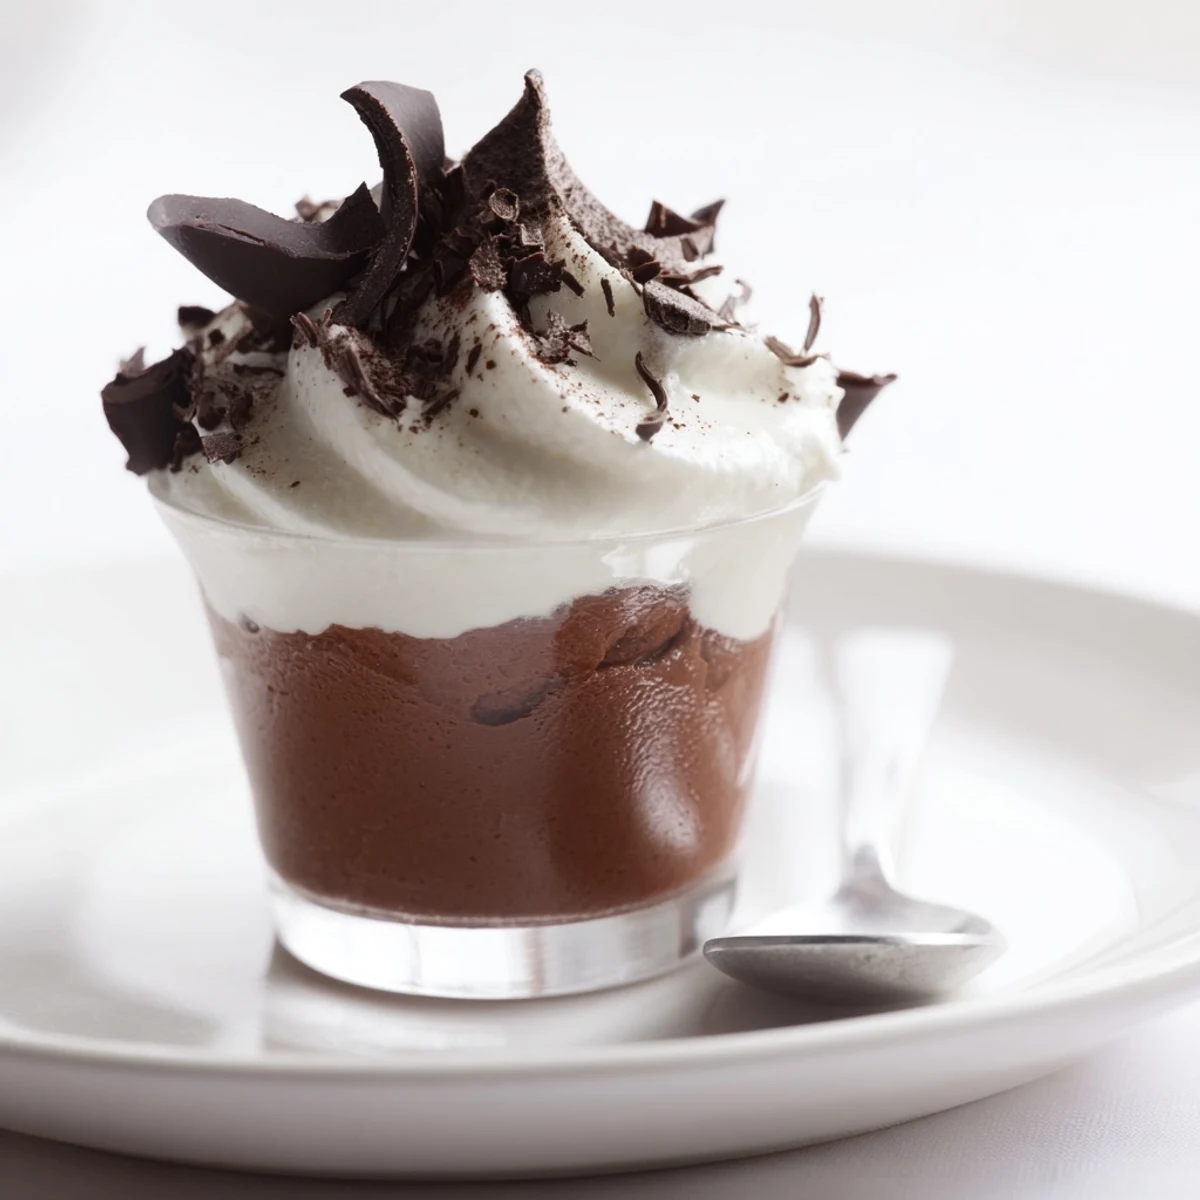
- Sprinkle with shaved chocolate or cocoa powder just before serving; this is the moment that always makes the cups look almost too good to eat.
 Pin It
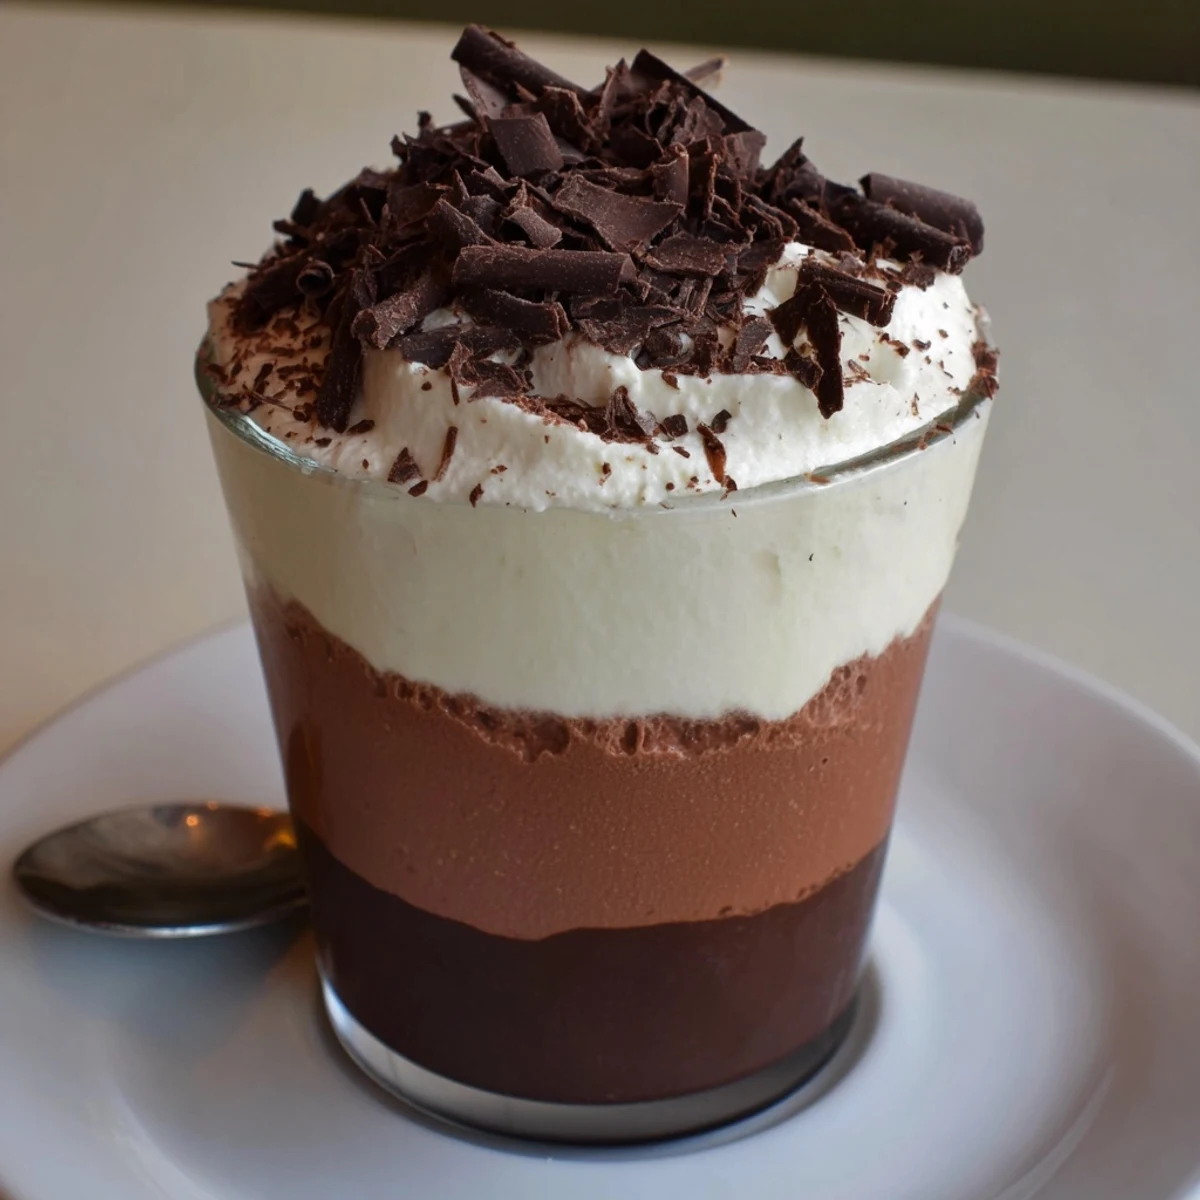
 One birthday, my brother devoured his mousse cup before anyone else had finished, declaring the milk chocolate middle layer the champion—that silly competition still comes up every time mousse is mentioned in the family group chat.
Three Layers, Triple the Joy
Creating distinct layers isn’t just for beauty—it creates a texture journey from rich to soft to sweet. Watching the mousse “set” in the fridge can be a test of patience, but anticipation is part of the fun.
Working with Chocolate: Small Triumphs
Chocolate is a fussy ingredient, but learning to respect its quirks has made every batch better. I’ve found that chopping chocolate small and patiently stirring makes all the difference between a grainy mousse and a heavenly one.
Serving and Personalizing
If you’re making these ahead, cover the cups tightly to prevent fridge odors from sneaking in. I love to finish with contrasting chocolate shavings—try mixing dark and white shavings for extra flair.
- Adjust layer thickness to cater to your favorite chocolate (mine is an extra-thick dark base).
- Add a spoonful of coffee liqueur to the dark chocolate for an “adults only” flavor twist.
- Don’t stress over perfect lines—uneven layers taste just as incredible.
 Pin It
 No matter the occasion, these triple chocolate mousse cups promise joy in every spoonful—just be prepared for them to disappear far too quickly.
Recipe Q&A
- → How do I keep the mousses light and airy?
-
Whip the cream to soft peaks and fold it in gently to preserve air. Make sure melted chocolate has cooled slightly before combining with yolks to avoid deflating the mixture.
- → Can I make the layers set faster between pours?
-
Yes. Chill the cups in the freezer for 25–30 minutes between layers to speed setting, but avoid freezing solid to preserve texture.
- → How should I melt the chocolate without seizing it?
-
Use a gentle bain-marie or short microwave bursts, stirring frequently. Keep steam and water away from the chocolate and remove it from heat while a few pieces remain to finish melting off-heat.
- → Are there safe egg options or substitutions?
-
Use pasteurized egg yolks for safety if preferred. For an egg-free approach, use a stabilized whipped cream base or commercial mousse stabilizer, noting the texture will differ slightly.
- → What flavors or liqueurs pair well with the layers?
-
A splash of coffee liqueur fits the dark layer, while orange or hazelnut liqueur suits milk chocolate. Add sparingly so the mousse keeps its structure and balance.
- → Any presentation tips for neat layers?
-
Use a piping bag for precise layers, work with chilled cups for clean edges, and finish with chocolate shavings, a dusting of cocoa, or a pinch of flaky salt for contrast.