 Pin It
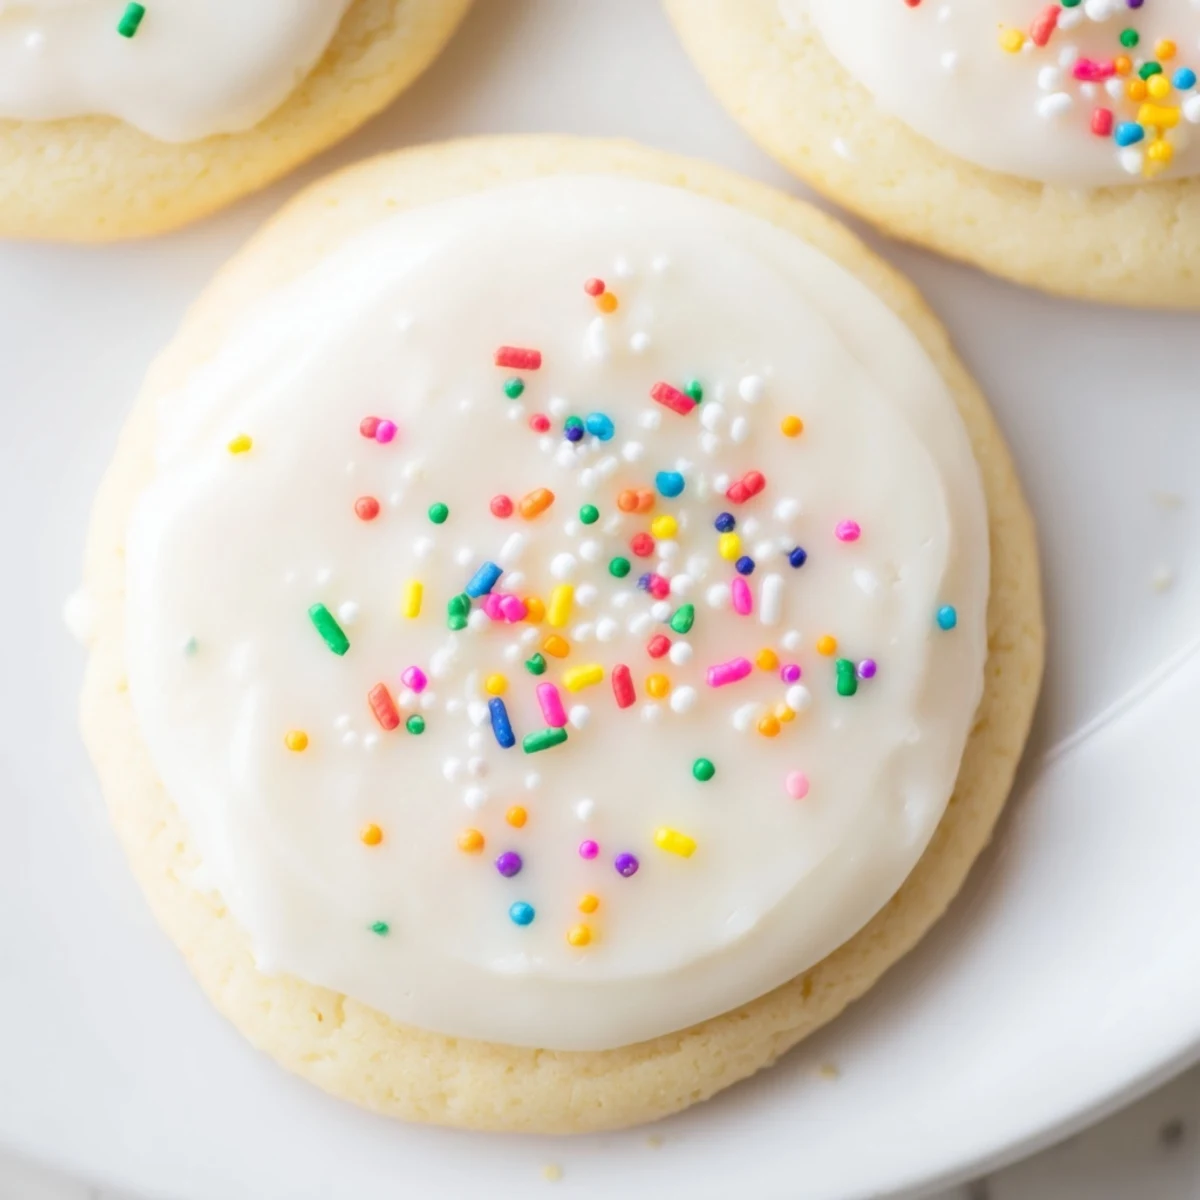
 Whisk together powdered sugar, milk, corn syrup, and vanilla extract to create a smooth, glossy icing in just 10 minutes. Adjust consistency with additional milk for spreading or piping. Color with gel or liquid food coloring as desired. The icing dries firm at room temperature within 4 hours, creating a professional finish on decorated sugar cookies. Store leftovers in the refrigerator for up to a week.
The kitchen counter was covered in a sea of pastel frosting bags, and my daughter was pressing her face against the glass door waiting for the cookies to finish cooling. We'd spent all afternoon rolling out sugar cookie dough, and the anticipation of that final decorating step was palpable. That's when I realized the secret to truly memorable cookie decorating isn't just the shapes—it's having the perfect icing that dries beautifully without becoming rock hard.
Last Christmas, my neighbor's daughter brought over a plate of decorated cookies that looked like they came from a bakery. When I asked for her secret, she laughed and admitted it was this simple icing recipe she'd been using for years. The next weekend, I made three batches for a cookie exchange party and watched people actually choose my cookies over the fancy store bought ones.
Ingredients
- 2 cups powdered sugar: Sifting this first prevents lumps that would ruin your smooth finish
- 2-3 tablespoons milk: Start with less and add gradually to control your consistency
- 1 tablespoon light corn syrup: This creates that glossy shine and keeps the icing from becoming too brittle
- 1/2 teaspoon pure vanilla extract: The real stuff matters here since the flavor comes through clearly
- Food coloring: Gel colors give you vibrant shades without thinning your icing
Instructions
- Mix your base:
- Whisk together powdered sugar, 2 tablespoons milk, corn syrup and vanilla until completely smooth and glossy
- Find your consistency:
- Add more milk in tiny increments if needed until the icing thickly pours off your whisk
- Create your colors:
- Divide into bowls and stir in food coloring drop by drop until you reach exactly the shade you want
- Decorate your cookies:
- Work quickly while icing is still glossy dipping spreading or piping onto completely cooled cookies
- Let them set:
- Leave cookies undisturbed at room temperature for at least 4 hours until the icing feels dry to the touch
 Pin It
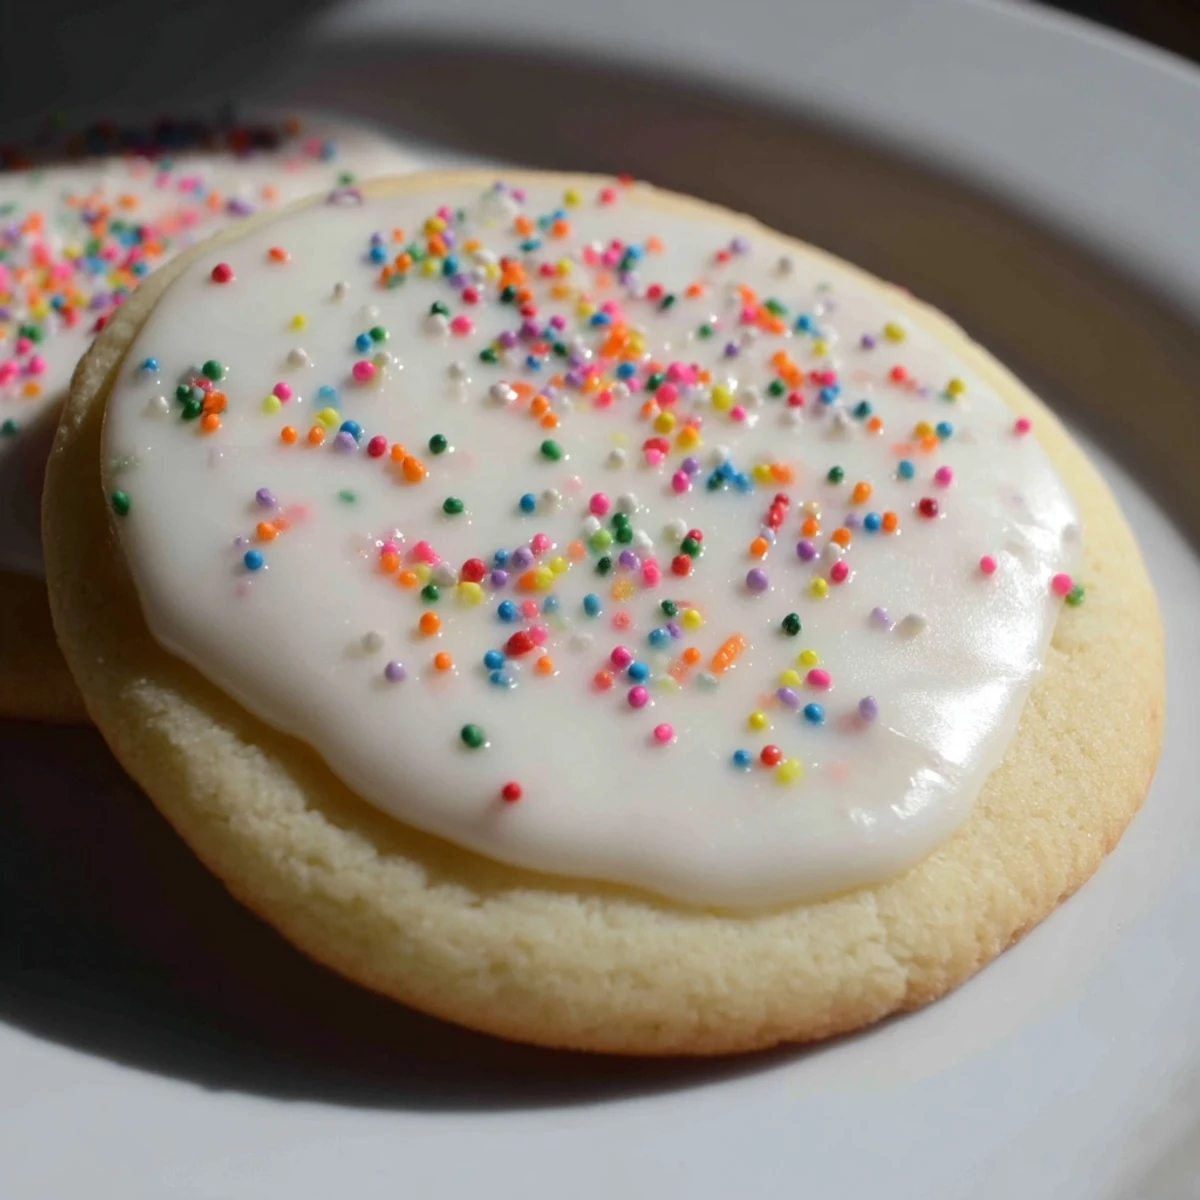
 My niece now requests these specifically for her birthday every year, and the look of concentration on her face as she carefully pipes rainbow designs onto star shaped cookies is something I treasure. These cookies have become the canvas for so many small celebrations in our house.
Getting The Consistency Right
The difference between icing that spreads beautifully and icing that makes you want to cry is surprisingly small. I keep a tiny bowl of extra powdered sugar nearby when I'm working, and another with just a teaspoon of milk. That way I can adjust in either direction without having to guess or ruin a whole batch.
Working With Colors
One year I got ambitious and tried to create a full rainbow of icing colors for a school bake sale. What I learned is that gel food coloring is absolutely worth the extra cost compared to the cheap liquid drops from the grocery store. The colors stay vibrant, and you don't need to use nearly as much to achieve rich shades.
Storage And Make Ahead Tips
I've discovered through trial and error that this icing actually keeps beautifully in the refrigerator for up to a week, stored in an airtight container with a piece of plastic wrap pressed directly against the surface to prevent a skin from forming. When you're ready to use it again, just let it come to room temperature and give it a good stir.
- Always let cookies cool completely before icing or it will melt right off
- If your icing starts to crust while working, cover the bowl with a damp paper towel
- Set up your decorating station with wax paper underneath for easy cleanup
 Pin It
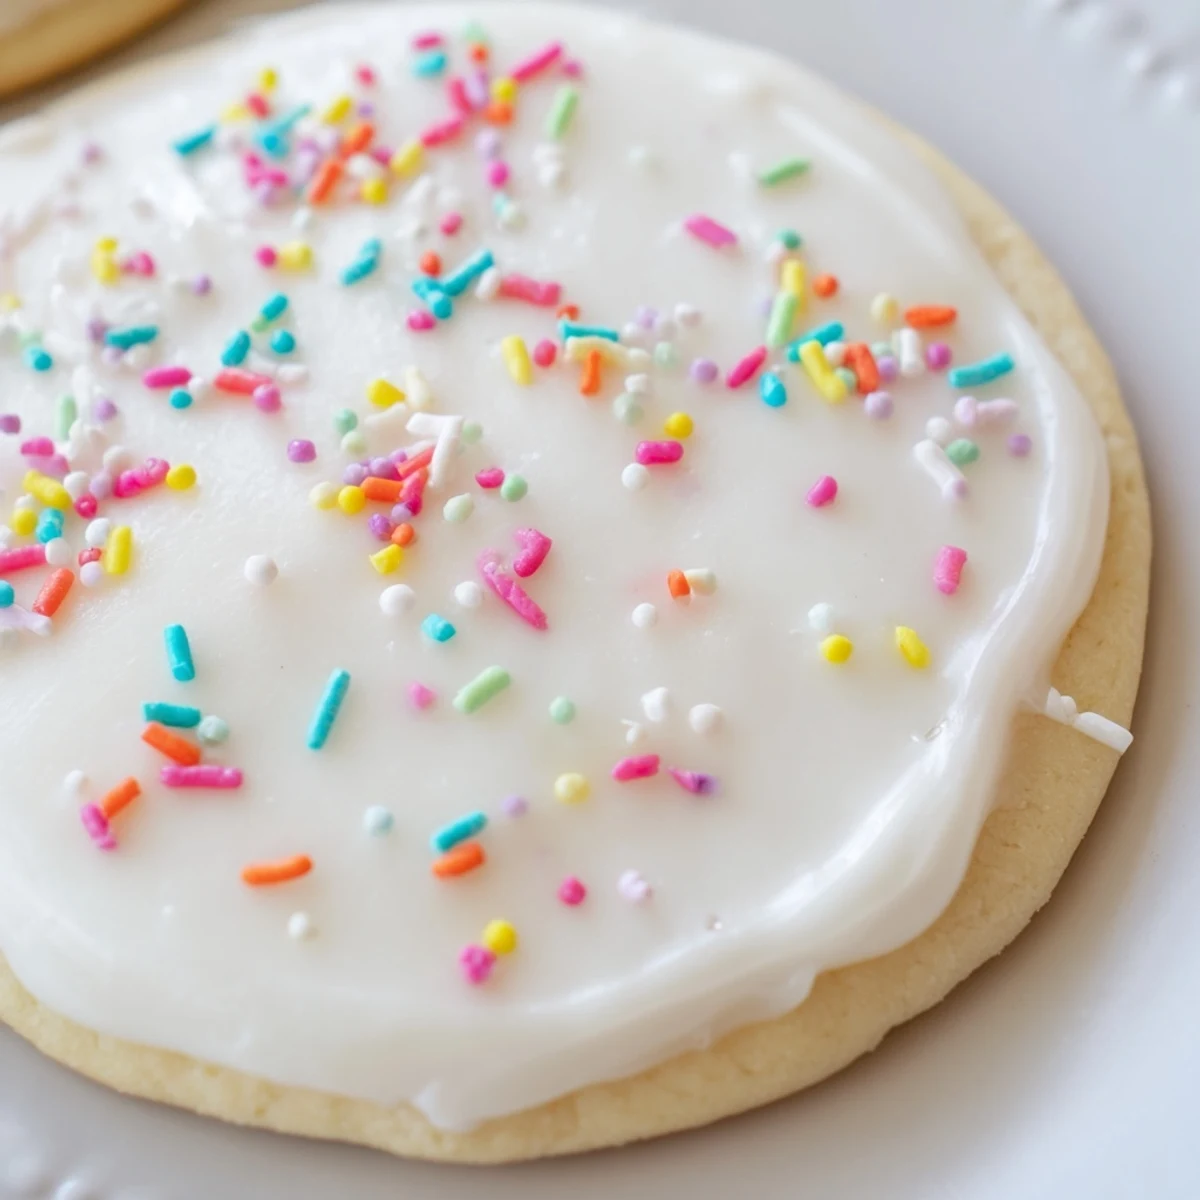
 There's something deeply satisfying about pulling out a container of decorated cookies you made weeks ago and seeing that perfect glossy shine still intact. Happy decorating.
Recipe Q&A
- → How long does the icing take to dry?
-
The icing dries completely at room temperature within 4 hours. For faster drying, place decorated cookies in a cool, dry area with good air circulation. Avoid refrigerating while drying, as moisture can prevent proper setting.
- → Can I make the icing ahead of time?
-
Yes, store the icing in an airtight container in the refrigerator for up to 1 week. Before using, bring to room temperature and stir well. You may need to add a few drops of milk to restore the original consistency.
- → What's the best consistency for piping vs. flooding?
-
For piping outlines and detailed designs, use thicker icing by adding less milk. For flooding larger areas, thin the icing with additional milk until it flows smoothly but holds its shape slightly. Test consistency by lifting your whisk—the icing should form a ribbon that disappears back into the bowl within 10 seconds.
- → Can I substitute corn syrup?
-
Light corn syrup provides the glossy finish and helps the icing set properly. You can substitute with honey or golden syrup, though this may alter the flavor slightly. For a vegan option, use agave nectar or maple syrup, keeping in mind these will add distinct flavors.
- → How do I color the icing without making it too thin?
-
Use gel food coloring instead of liquid for vibrant color without altering consistency. Add coloring a few drops at a time, mixing thoroughly between additions. If using liquid coloring, compensate by reducing the milk in the original recipe slightly.
- → Why is my icing grainy or lumpy?
-
Always sift your powdered sugar before mixing to remove lumps. If lumps appear during mixing, press them through a fine-mesh sieve or whisk vigorously until smooth. Adding the liquid ingredients gradually while whisking continuously also helps prevent clumping.