 Pin It
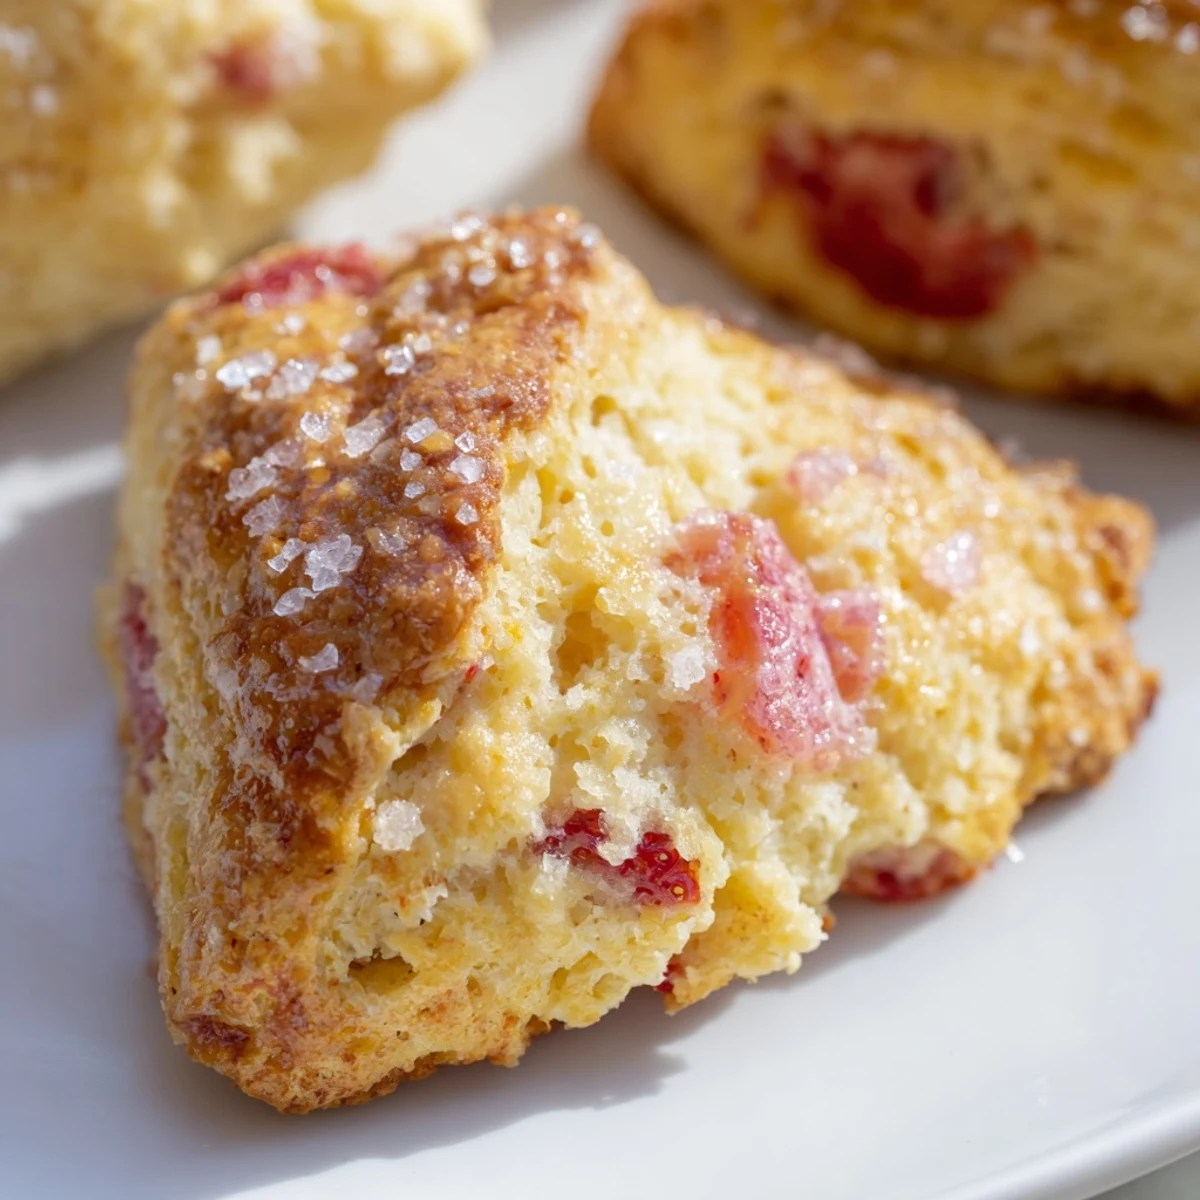
 These tender scones combine cold butter, heavy cream, and fresh diced strawberries for a classic British-American treat. The dough comes together in just 15 minutes, requiring only basic pantry staples and minimal mixing to ensure flaky results.
Bake at 400°F until golden brown, then cool briefly before serving warm. The coarse sugar topping adds delightful crunch, while fresh strawberries create pockets of sweetness throughout each wedge.
The first time I made strawberry scones, I was rushing to host a book club meeting that I had somehow volunteered to host the night before. I had never baked scones before, and I was convinced they would be dense, dry disasters. But when I pulled that first batch from the oven, still warm from the residual heat, and broke one open to reveal tender layers studded with jewel bright strawberries, I knew I had stumbled onto something special.
My sister in law visiting from England took one bite and declared them better than anything she had tasted in London tea shops. We ended up sitting at the kitchen table for an hour, slathering them with clotted cream and debating whether strawberry or raspberry made the superior scone. Now every time she visits, I double the batch because somehow they always disappear faster than I expect.
Ingredients
- All purpose flour: The foundation that creates structure. I have learned through many failed experiments that cake flour makes them too delicate while bread flour leaves them tough.
- Granulated sugar: Just enough to balance the tartness of fresh strawberries without making these cloyingly sweet.
- Baking powder: This is what gives scones their signature rise. Make sure yours is fresh, otherwise you will end up with flat, disappointing disks.
- Cold unsalted butter: The most critical ingredient. Cold butter creates steam pockets as it melts, leading to those flaky layers that make scones so irresistible.
- Heavy cream: I tried using milk once to make them lighter, and the texture suffered. Cream provides the richness that makes these feel indulgent.
- Fresh strawberries: Use berries that are slightly underripe rather than mushy ones. They hold their shape better during baking and provide little bursts of tart sweetness.
- Coarse sugar: This creates a beautiful crackly top that adds professional looking finish and a satisfying crunch.
Instructions
- Preheat and prep your workspace:
- Set your oven to 400°F and line a baking sheet with parchment paper. This prevents sticking and makes cleanup effortless. I once skipped this step and spent twenty minutes chiseling baked on sugar from my favorite baking sheet.
- Mix the dry ingredients:
- Whisk together the flour, sugar, baking powder, and salt in a large bowl until everything is evenly distributed. This ensures every bite has consistent flavor and leavening.
- Work in the butter:
- Add the cold cubed butter to the flour mixture. Using a pastry cutter or your fingertips, break it down until the mixture looks like coarse crumbs with some pea sized pieces remaining. Those larger butter pieces are what create flaky layers.
- Prepare the wet mixture:
- In a separate bowl, whisk together the cream, egg, and vanilla extract until smooth. The egg provides structure while the vanilla enhances the strawberry flavor beautifully.
- Combine and fold:
- Add the wet ingredients to the dry and mix gently until just combined. The dough will look shaggy and this is exactly right. Overworking at this stage leads to tough scones.
- Add the strawberries:
- Gently fold in the diced strawberries using a light hand. You want them distributed throughout but not crushed or bleeding too much juice into the dough.
- Shape the scones:
- Turn the dough onto a floured surface and pat it into a 1 inch thick circle, about 7 inches across. Do not roll with a rolling pin which can compress the dough. Cut into 8 wedges and transfer to your prepared baking sheet, leaving space between each one.
- Add the finishing touches:
- Brush the tops with a little extra cream and sprinkle with coarse sugar. This step feels optional until you taste that crispy sugary crust against the tender crumb.
- Bake to perfection:
- Bake for 16 to 18 minutes until the tops are golden brown and the bottoms sound hollow when tapped. Let them cool on the baking sheet for at least 10 minutes because the residual heat completes the cooking process.
 Pin It
 These scones have become my go to for new neighbors and grieving friends alike. There is something universally comforting about warm baked goods, and the bright red strawberries make them feel special without being fussy. I delivered a batch to my elderly neighbor last spring, and she told me they reminded her of summers on her grandmother is farm, picking strawberries and eating them with cream.
Making Them Ahead
Scones are best fresh from the oven, but I have learned a trick that lets you have that just baked experience even on busy mornings. Cut the wedges and arrange them on your baking sheet, then freeze until solid. Transfer to a freezer bag and bake straight from frozen, adding a few extra minutes to the baking time. This has saved me more times than I can count.
Flavor Variations
While strawberry remains my favorite, the seasons inspire experimentation. In autumn I swap fresh berries for diced apples and add cinnamon to the dry ingredients. Winter calls for dried cranberries and orange zest. Spring welcomes rhubarb when it first appears at markets. The base recipe is endlessly forgiving and rewarding.
Serving Suggestions
These scones need nothing more than a cup of coffee or tea to feel complete. However, if you want to elevate them further, split and top with clotted cream and lemon curd. They also pair beautifully with vanilla yogurt for a lighter breakfast option. For dessert, warm them slightly and serve with a scoop of vanilla bean ice cream.
- Split scones horizontally and toast the cut sides under the broiler for extra crunch
- Wrap cooled scones individually in plastic wrap and freeze for up to three months
- Reheat day old scones in a 350°F oven for 5 to 7 minutes to refresh the texture
 Pin It
 There is something deeply satisfying about transforming simple ingredients into something that feels like a special occasion. Whether shared with friends or savored in quiet morning solitude, these strawberry scones have a way of making ordinary days feel a little more celebratory.
Recipe Q&A
- → Can I use frozen strawberries instead of fresh?
-
Yes, frozen strawberries work well. Add them directly to the dough without thawing to prevent excess moisture that could make the scones dense. Chop while frozen for easier handling.
- → Why must the butter be cold?
-
Cold butter creates small pockets of fat during baking, resulting in flaky, tender layers. Warm butter melts into the flour too early, preventing this essential texture development.
- → How do I store these scones?
-
Store in an airtight container at room temperature for up to 2 days. For longer storage, freeze baked scones for up to 3 months and reheat in a 350°F oven for 8-10 minutes.
- → Can I make the dough ahead of time?
-
Prepare and cut the dough, then freeze the unbaked wedges on a baking sheet. Once frozen, transfer to a bag and bake directly from frozen, adding 2-3 minutes to the baking time.
- → What can I substitute for heavy cream?
-
Half-and-half works for a lighter version, though scones will be less rich. For a dairy-free option, use full-fat coconut cream, though the texture and flavor will differ slightly.
- → Why is overmixing discouraged?
-
Overmixing develops gluten, making scones tough and chewy rather than tender and flaky. Mix until just combined—some dry streaks are fine before folding in the berries.