 Pin It
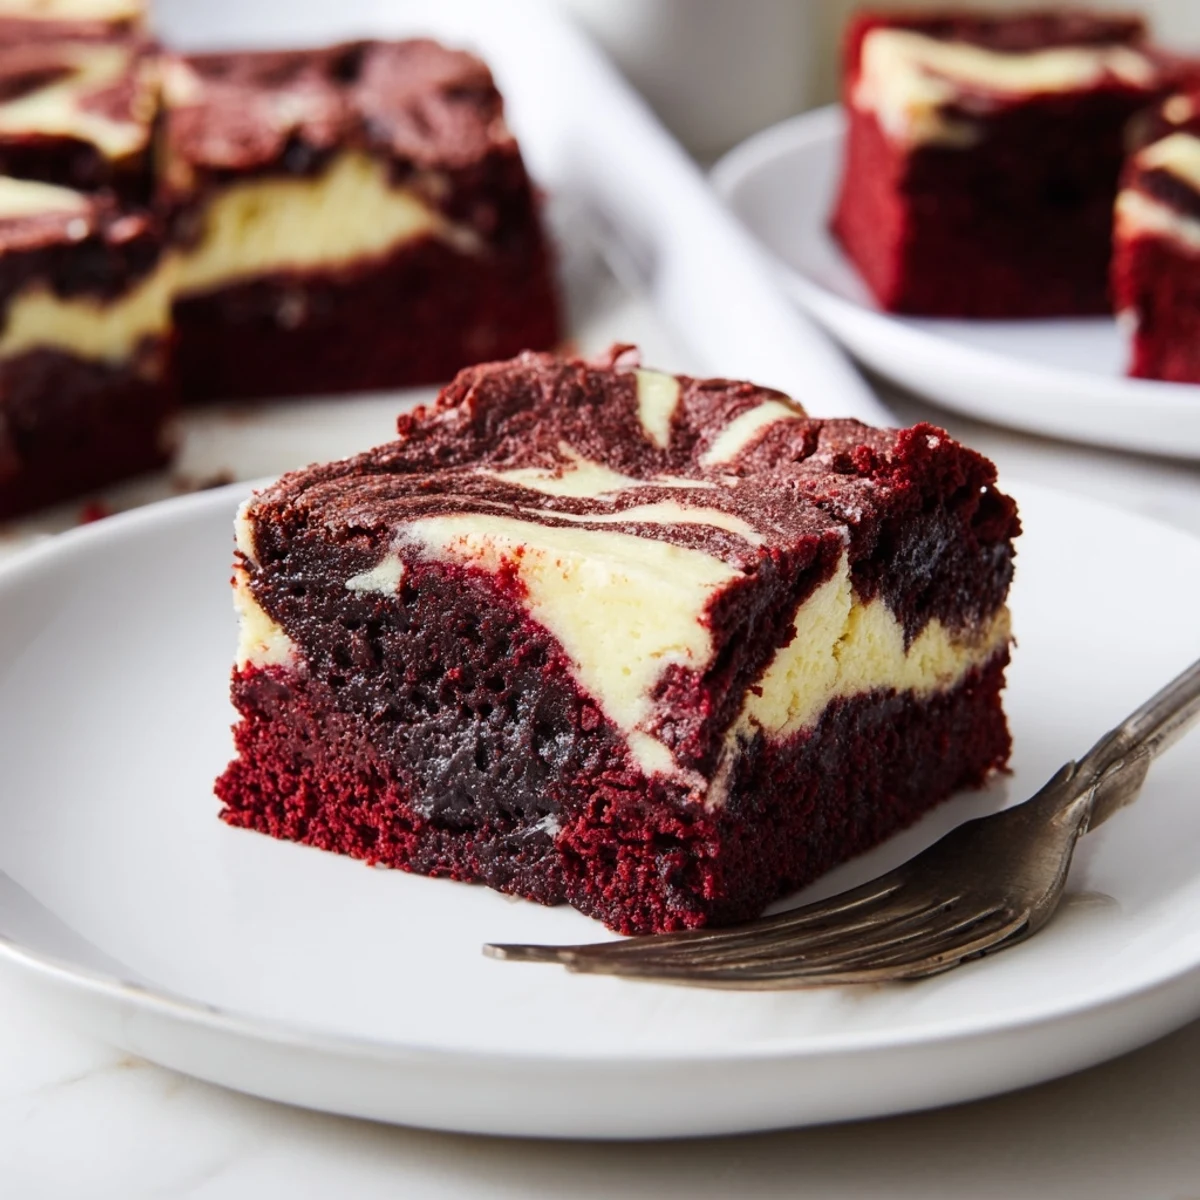
 These red velvet cheesecake brownies combine the best of both worlds: fudgy, cocoa-infused red velvet batter meets tangy, smooth cheesecake swirls. The marbled pattern creates eye-catching layers while the texture delivers an irresistible contrast between dense, chocolatey richness and creamy cheesecake delight.
Perfect for gatherings, holidays, or whenever you crave something truly special. The batter comes together quickly, and the swirling technique is easier than it looks—no special skills required for bakery-worthy results.
I'll never forget bringing these to a Valentine's Day potluck and watching my friend's eyes light up when she cut into that first slice. The way the red velvet and cream cheese swirled together looked like edible art, and honestly, the whole pan disappeared before I could even grab a second piece for myself.
My sister actually requested these for her wedding shower instead of a traditional cake. She said they felt more special and intimate, something guests could grab and mingle with. I made three pans that day and learned that having extra parchment overhang is absolutely crucial for getting them out in one piece.
Ingredients
- Unsalted butter: Melted butter creates that dense fudgy texture we want in the brownie layer, and using unsalted lets you control the saltiness
- Granulated sugar: Sugar does double duty here sweetening while creating that crackly top crust everyone loves
- Large eggs: Room temperature eggs incorporate better and help give the brownies their structure
- Vanilla extract: Pure vanilla makes such a difference in the final flavor profile
- Red food coloring: Gel coloring gives you that vibrant red without adding extra liquid to the batter
- All-purpose flour: Just enough flour to hold everything together while keeping the texture dense and fudgy
- Unsweetened cocoa powder: Dutch-processed cocoa gives a deeper chocolate flavor without being too bitter
- Salt: A pinch of salt enhances the chocolate and balances all the sweetness
- Cream cheese: Make sure it's completely softened so your cheesecake layer ends up silky smooth without any lumps
- Cream cheese sugar: The sugar in the cheesecake layer balances the tanginess of the cream cheese
- Cream cheese egg: This helps set the cheesecake layer while keeping it creamy
Instructions
- Get your oven and pan ready:
- Preheat to 350°F and line your 8x8 inch pan with parchment paper. Leave enough overhang on the sides because you'll thank yourself later when lifting the whole batch out at once.
- Make the red velvet batter:
- Whisk the melted butter and sugar until smooth, then add eggs, vanilla, and red food coloring. Keep whisking until everything's fully combined and that color is uniform throughout.
- Add the dry ingredients:
- Sift in the flour, cocoa powder, and salt directly into the wet mixture. Fold gently with a spatula until just combined, being careful not to overmix since that'll make them tough instead of fudgy.
- Layer and reserve:
- Set aside 1/4 cup of the red velvet batter for the swirl effect, then pour the rest into your prepared pan. Spread it evenly so the cheesecake layer has a nice flat base to sit on.
- Prepare the cheesecake swirl:
- Beat the softened cream cheese with sugar until completely smooth, then add the egg and vanilla. Mix until creamy and lump-free, scraping down the sides once to make sure everything's incorporated.
- Add the cream cheese layer:
- Pour the cheesecake mixture right over the brownie batter in the pan. Use an offset spatula or the back of a spoon to smooth it evenly across the entire surface.
- Create the marble effect:
- Drop spoonfuls of that reserved red velvet batter on top of the cheesecake layer. Take a knife or skewer and gently swirl through both layers without overdoing it.
- Bake to perfection:
- Bake for 33 to 36 minutes until the center is just set and a toothpick comes out with a few moist crumbs. The cheesecake layer should still have a slight jiggle when you gently shake the pan.
- Cool completely:
- Let them cool completely in the pan on a wire rack. I know it's tempting to cut them warm, but they need this time to set up properly so you get clean edges and that perfect texture.
 Pin It
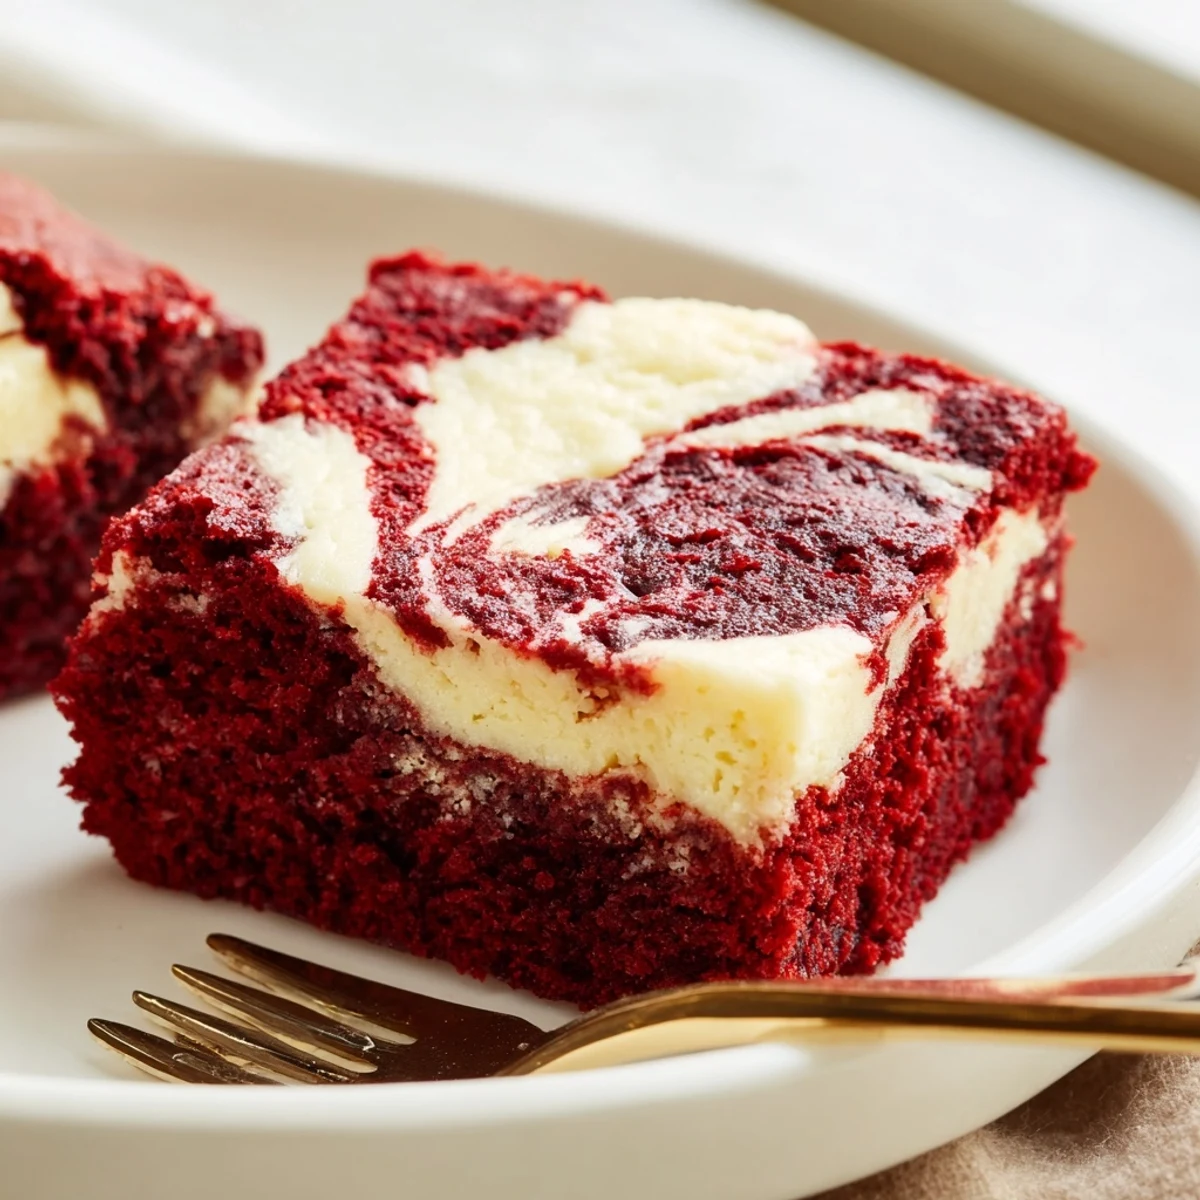
 These brownies have become my go-to for everything from office birthdays to holiday dessert tables. There's something about that red and cream marble pattern that makes people think you spent hours creating something fancy when really it's just a few simple layers swirled together.
Getting The Perfect Swirl
I used to overthink the swirling process until I realized less is more. A few simple figure-eighths with your knife create that beautiful marble pattern without muddling the distinct flavors. Going too deep with the knife mixes the layers too much and you lose that gorgeous contrast between the red velvet and cream cheese.
Room Temperature Matters
After one disaster where my cream cheese stayed lumpy no matter how long I beat it, I learned to set everything out on the counter about an hour before baking. Room temperature ingredients combine effortlessly and create that silky texture we're after in both layers.
Serving and Storage Secrets
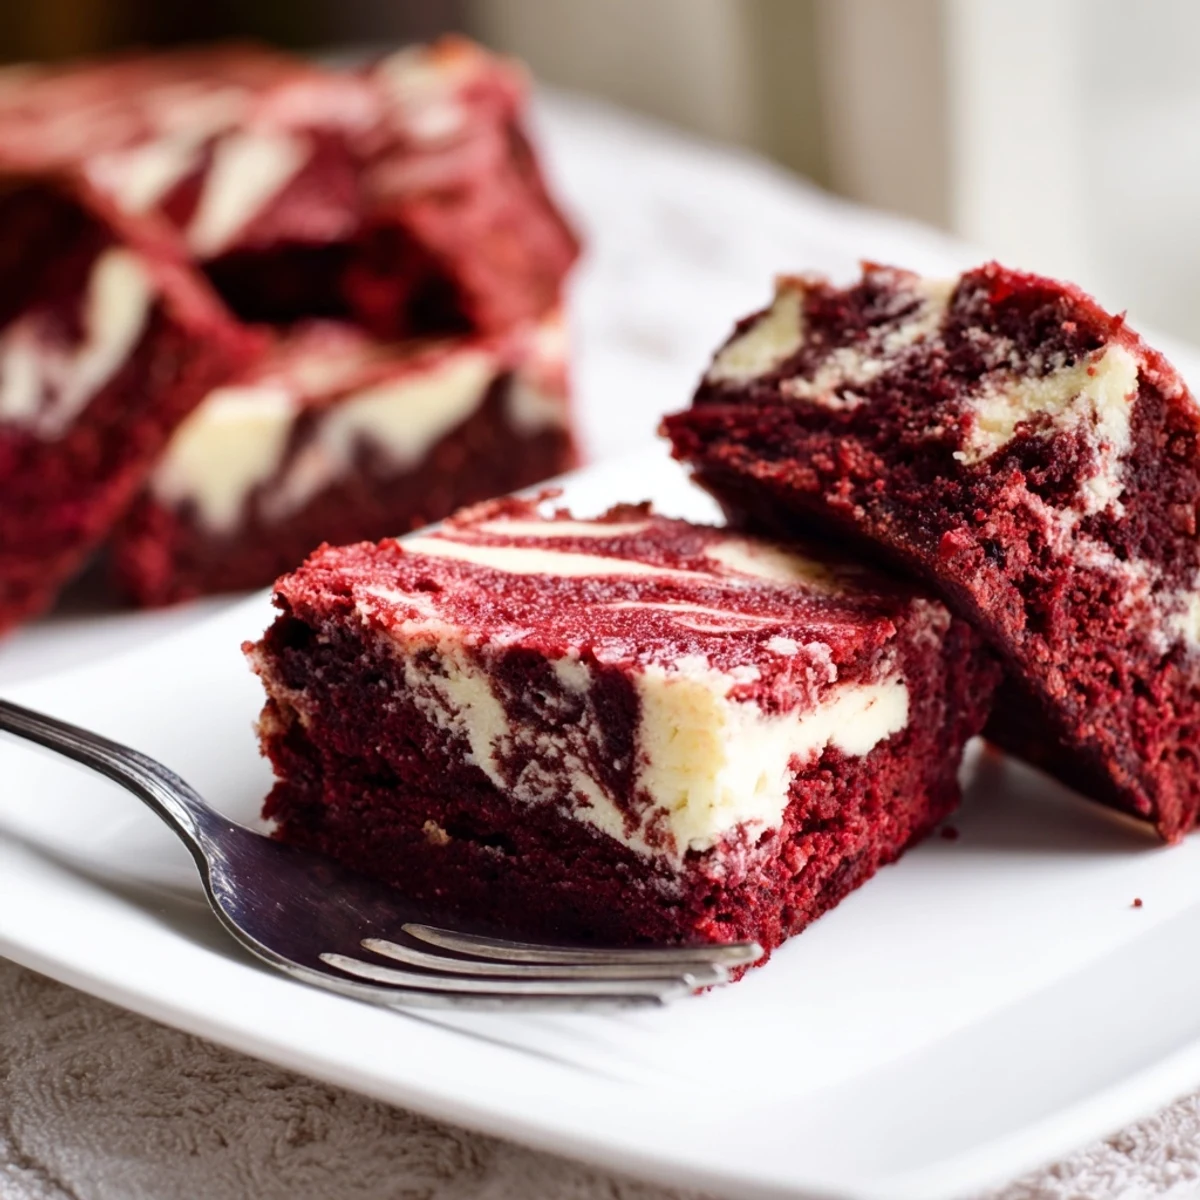
I actually prefer these after they've chilled in the fridge for a few hours. The cream cheese layer firms up beautifully and the brownie becomes even denser and more fudgy. Just let them sit at room temperature for about 15 minutes before serving so they're not too cold.
- Use a hot knife to get clean cuts without dragging the cream cheese layer
- These freeze beautifully wrapped tightly for up to three months
- Pop chilled brownies in the microwave for 15 seconds if you want that freshly baked warmth
 Pin It
 Whether you're baking for a special occasion or just because Tuesday deserves something extraordinary, these brownies have a way of making everyone feel celebrated.
Recipe Q&A
- → How do I know when the brownies are done baking?
-
Insert a toothpick into the center—it should come out with a few moist crumbs, not completely clean. The edges should be set but the center slightly jiggly. They'll continue firming while cooling.
- → Can I make these ahead of time?
-
Absolutely. These taste even better after chilling overnight. Store in the refrigerator for up to 5 days, or freeze individually wrapped portions for up to 3 months. Bring to room temperature before serving.
- → Why did my cheesecake swirl sink into the batter?
-
This happens if the cheesecake layer is too thin or the brownie batter is too warm. Ensure both layers are room temperature before swirling, and don't over-swirl—just 2-3 gentle passes with a knife creates the perfect marbled effect.
- → Can I use natural food coloring instead of red dye?
-
Beet juice or pomegranate juice work as natural alternatives, though they produce a deeper burgundy shade rather than bright red. Start with 1 tablespoon and adjust until you reach your desired color intensity.
- → Should I serve these chilled or at room temperature?
-
Both ways are delicious! Chilled brownies have a firmer, fudgier texture with more pronounced cheesecake flavor. Room temperature brownies feel softer and more gooey. Try both to see which you prefer.