Pin It
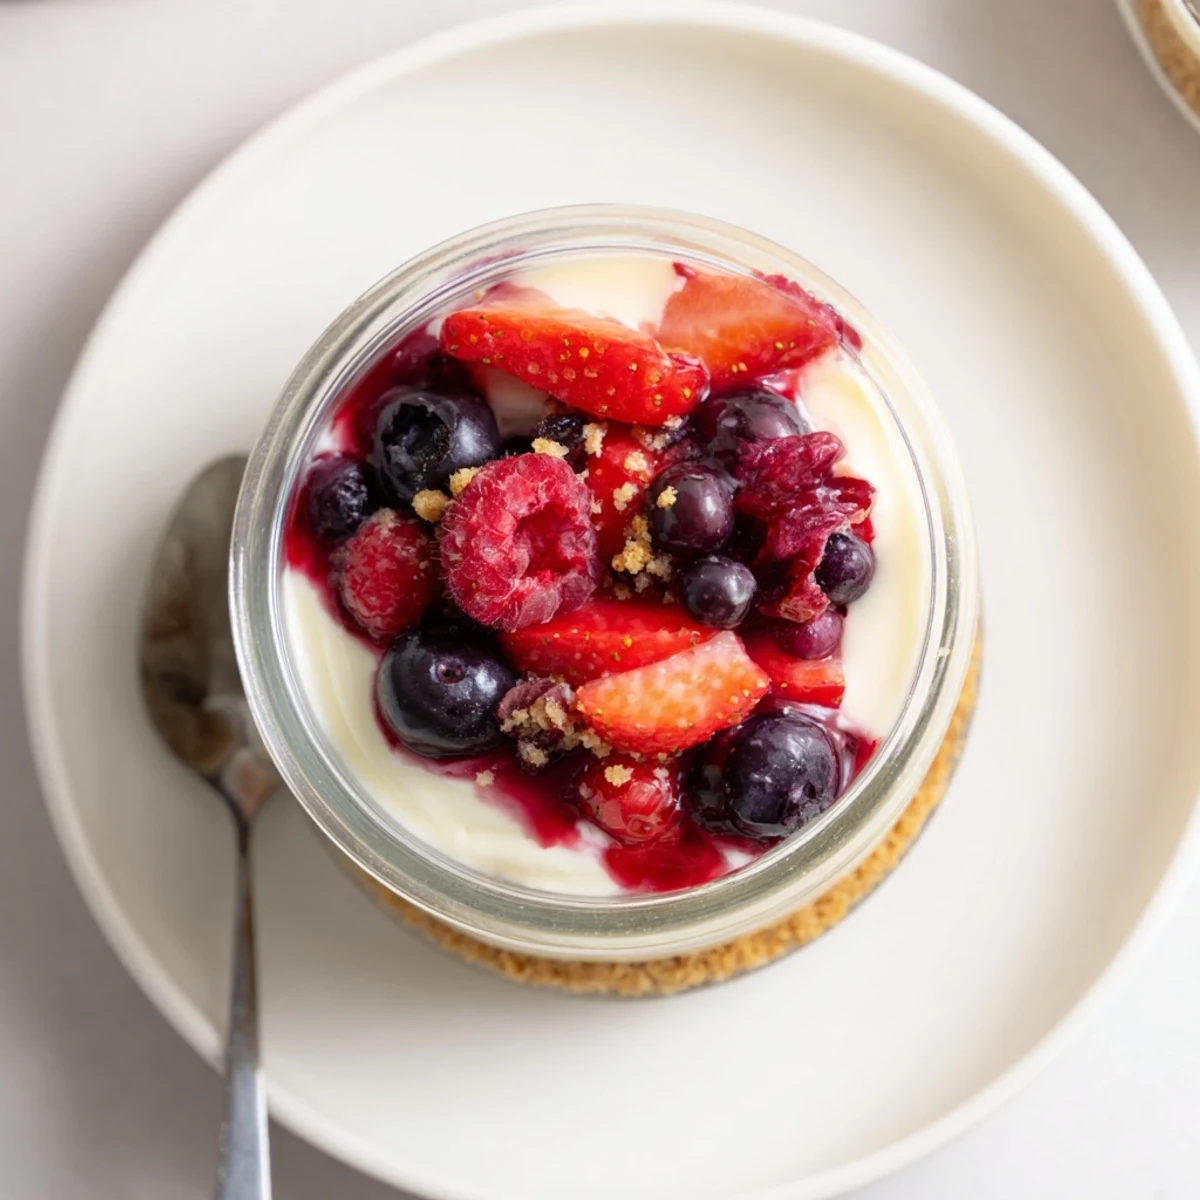
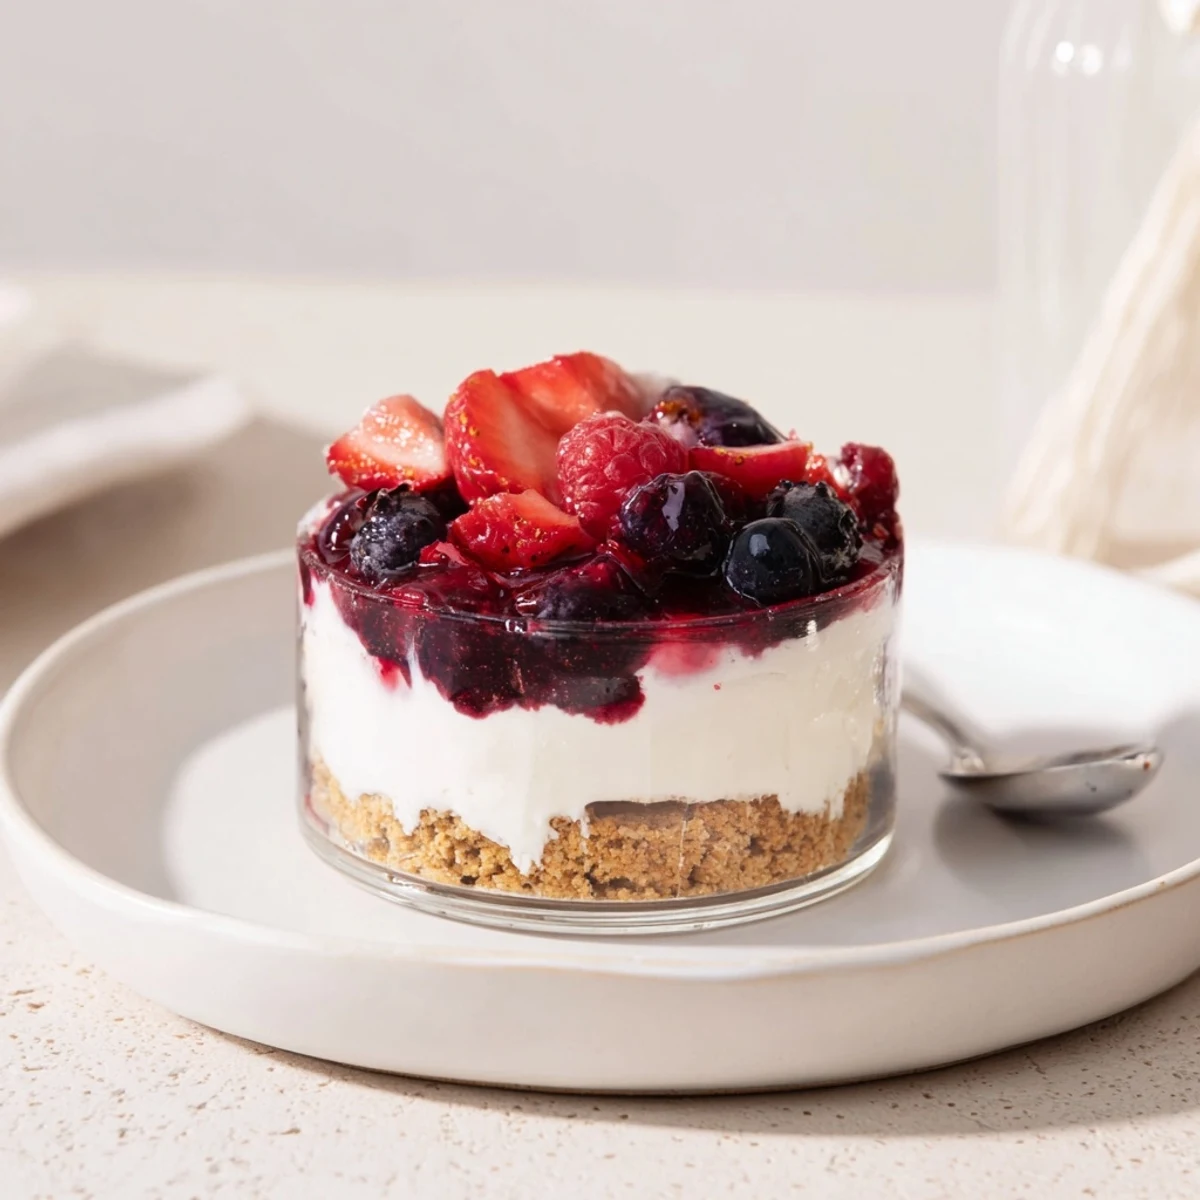
 Silky no-bake cheesecakes start with a pressed, buttery biscuit base topped by a smooth cream cheese and whipped cream filling, finished with a macerated mixed-berry topping. Assemble in individual glasses, chill at least 3 hours to firm, and serve cold. Use gluten-free crumbs or a splash of liqueur to vary the flavor.
The kitchen always feels livelier when it fills with the quick chatter of spoons and the perfume of summer berries teetering on the edge of overripe sweetness. One stormy afternoon, hoping to avoid turning on the oven, I found myself inventing these Berry No Bake Cheesecakes—layering cool, tangy cream over a buttery crumb as rain drummed on the window. There is a simple delight in chilling glasses in the fridge and knowing dessert is quietly coming together without much fuss. Sometimes the best treats are born out of a happy need to keep things easy.
Last July, I made these cheesecakes with my niece, who tried to sneak extra berries while giggling over the sticky juice on her chin. Watching her quietly build her own little parfait, I realized how these layered desserts have a way of turning into edible crafts projects and sweet memories at the same time. They became her favorite dessert after helping to make them, a fact she still reminds me of every summer visit.
Ingredients
- Graham crackers or digestive biscuits: Crushed biscuits are the backbone of every great cheesecake base; sometimes I pulse them in a bag with a rolling pin for crumbs that are satisfyingly chunky.
- Unsalted butter: Melting the butter thoroughly lets it coat every crumb, keeping the base from crumbling apart when you spoon out a bite.
- Cream cheese: Letting it soften before mixing helps avoid lumpy filling and makes folding in cream effortless.
- Heavy cream: Whip it until you get soft clouds—nothing lightens the texture of cheesecake quite like this step.
- Powdered sugar: It dissolves perfectly into the cream cheese, giving smooth sweetness without any grit.
- Vanilla extract: Skip the imitation stuff—a little good vanilla perfumes the whole dessert.
- Lemon zest (optional): Just a hint of zest pops the flavor and brightens each spoonful, but feel free to leave it out if you want mellow richness.
- Mixed fresh berries: Choose ripe and plump berries for the topping; whatever is freshest at the market always tastes best in the mix.
- Sugar: Tossed with berries, a spoonful brings out the juiciness and a glossy sheen.
- Lemon juice: Just a touch helps the berry flavors mingle and prevents them from turning too sweet.
Instructions
- Start with the base:
- Use your hands or the bottom of a glass to press buttery crumbs tightly into each serving glass; listen for the gentle crunch as the layers anchor themselves.
- Mix the filling:
- Whip cream cheese till silky, then fold in that fluffy whipped cream—the mixture should look whipped and feel light, almost like a cloud when you taste a fingerful.
- Prepare the berries:
- Toss berries with sugar and lemon juice, stirring until you can see shiny pools of berry juice glistening at the bottom of the bowl.
- Assemble the layers:
- Spoon or pipe the cheesecake mixture over the cooled crumb, then top generously with juicy berries and their syrupy juices.
- Chill and serve:
- Leave them in the fridge for at least 3 hours to set—the wait is hard, but the cool, creamy spoonfuls are worth it.
 Pin It
 One birthday picnic lingered long in my mind because we carried these cheesecakes in a cooler to the park, passing spoons around as dusk settled and someone declared dessert tasted better outdoors. Seeing empty glasses and streaks of berry juice made me realize how food connects us to places as much as people.
What Makes a Great No Bake Cheesecake
The real key is to balance textures—a firm, crunchy base, a pillowy filling, and berries that burst with each bite. Letting the layers chill together melds their flavors, turning impatience into anticipation. The reward is a dessert you only have to tidy up after, not slave over.
Choosing Your Berries
What I have learned: combining sweet strawberries with tart raspberries keeps the topping lively. Blackberries and blueberries fill in with gentle mellow notes, so use whatever mix you have on hand. Just be sure they are fresh, firm, and as perfectly ripe as you can find.
Make-Ahead Tips and Final Tricks
No bake means you are free to prep in advance, which is a blessing before any dinner party or picnic—it only gets better as it chills. Cheesecakes can be made up to a day ahead and assembled just before serving for ultimate freshness.
- Wipe the spoon between layers to keep things looking tidy.
- If you want more zing, a splash of berry liqueur in the topping is wonderful.
- Let everyone build their own for a memorable, low-stress dessert table.
 Pin It
 Here is to simple desserts that invite you to linger and savor—they turn a handful of fresh berries and a little patience into pure happiness. Enjoy every spoonful with someone who will appreciate your handiwork.
Recipe Q&A
- → How long should these chill before serving?
-
Chill for a minimum of 3 hours to allow the filling to firm up; overnight chilling yields the best texture and easier slicing or spooning.
- → Can I prepare components ahead of time?
-
Yes. Make the biscuit base and filling a day ahead and keep refrigerated. Assemble with the berry topping shortly before serving for the freshest appearance.
- → How do I prevent a soggy biscuit base?
-
Press the crumbs firmly into the serving glasses and chill the base briefly before adding the filling. Use the correct butter ratio so the crumbs bind without becoming greasy.
- → Are frozen berries suitable for the topping?
-
Frozen berries can work if thawed and drained first. Pat dry or gently simmer into a quick compote to concentrate flavor and reduce excess liquid.
- → What helps achieve stiff peaks for the filling?
-
Use very cold heavy cream and a chilled bowl. Whip at medium-high speed and stop as soon as stiff peaks form to avoid graininess or buttering.
- → How can I adapt this for dietary restrictions?
-
Swap biscuits for gluten-free crackers and use a dairy-free cream cheese and coconut cream to create a lactose-free version. Check labels for hidden allergens.