 Pin It
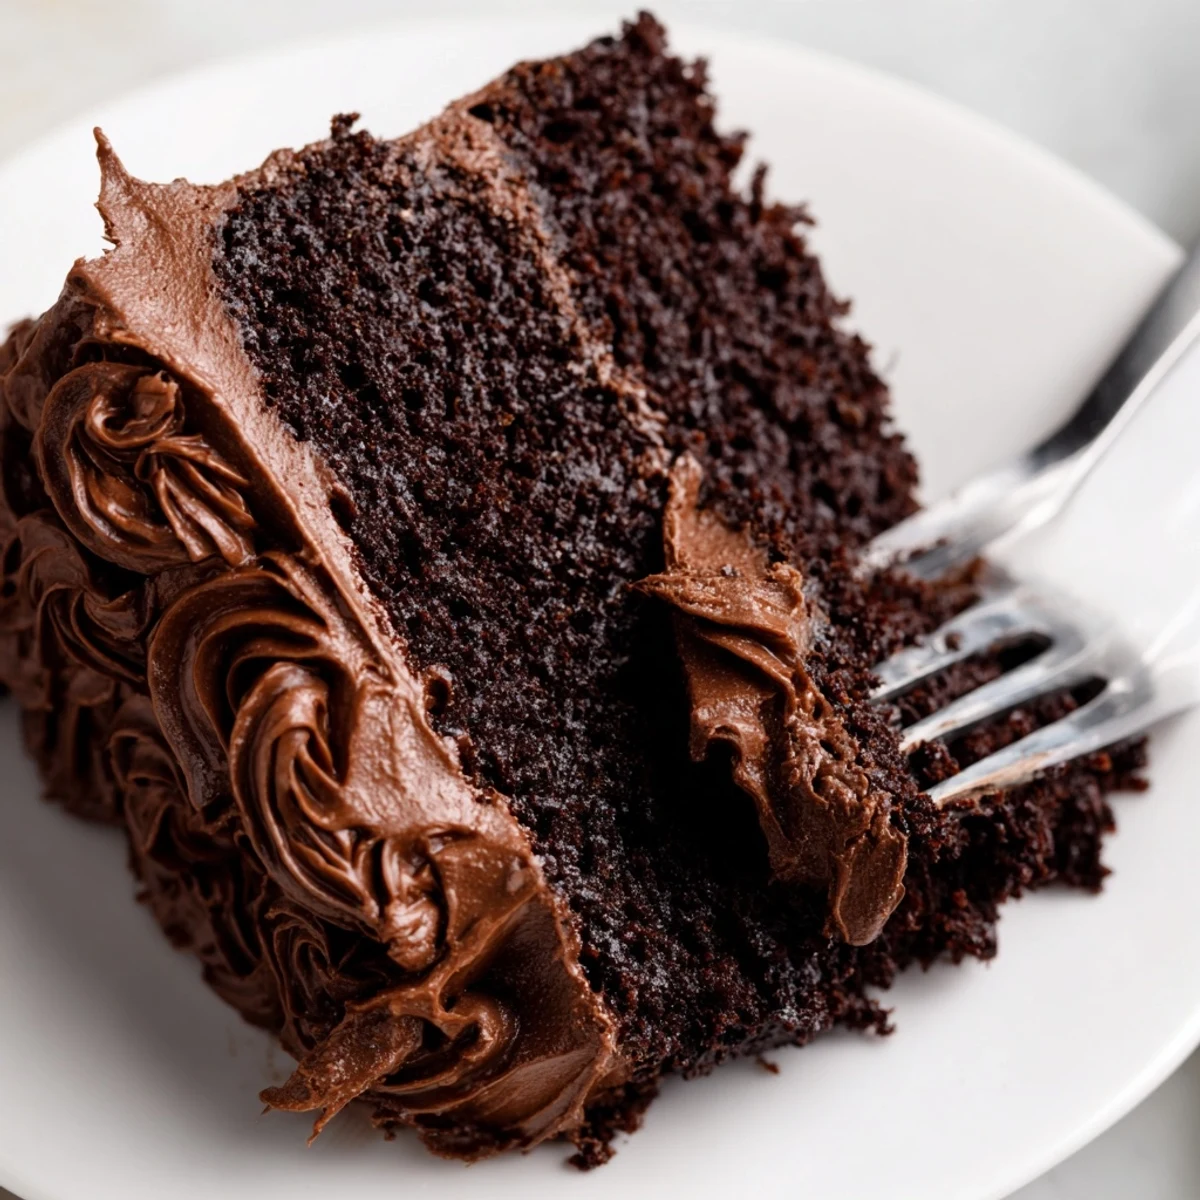
 This stunning chocolate creation captures the magic of the beloved film, featuring an incredibly moist crumb and luscious chocolate frosting. The combination of cocoa-rich layers and creamy butter frosting creates a dessert that's both nostalgic and decadent. Perfect for birthdays, holidays, or any celebration deserving something special.
The first time I attempted this cake, I stood in my kitchen at midnight, convinced I needed to recreate that iconic scene from Matilda. The boiling water step terrified me—who puts hot water in cake batter?—but I trusted the process. When those layers emerged from the oven, dark as midnight and smelling like a chocolate factory, I understood why this recipe has endured.
I made this for my brothers birthday last year, and he literally stopped mid conversation when he saw it on the counter. Something about that deep, dark chocolate color triggers an immediate childhood nostalgia. We watched the movie while it cooled, and I may have dramatically pretended to force-feed it to him. He didnt complain.
Ingredients
- 225 g all-purpose flour: The structure builder—sift it twice for an extra tender crumb
- 400 g granulated sugar: Yes, this is a lot, but its necessary for that crackly top crust
- 85 g unsweetened cocoa powder: Use Dutch process for that deep, almost black chocolate color
- 1½ tsp baking powder and soda: The lifting team that makes this cake rise despite all that liquid
- 1 tsp salt: Crucial for making chocolate taste like MORE chocolate
- 2 large eggs: Room temperature eggs incorporate better—set them out before you start
- 240 ml whole milk: The fat content matters here for richness
- 120 ml vegetable oil: Oil keeps this cake moist for days, unlike butter which can firm up
- 2 tsp pure vanilla extract: Dont skimp—good vanilla is the backbone that balances all that chocolate
- 240 ml boiling water: The secret ingredient that blooms the cocoa and creates that tender texture
- 225 g unsalted butter: Softened completely—press it with your finger and it should sink in
- 75 g unsweetened cocoa powder: Sift it or you will regret the lumps in your frosting
- 425 g powdered sugar: Thats a lot of sugar, but this frosting needs body
- 60 ml whole milk: Add it tablespoon by tablespoon until you reach spreading consistency
- 2 tsp pure vanilla extract: Same as above—vanilla makes chocolate sing
- Pinch of salt: Just enough to cut through all that sweetness
Instructions
- Get your oven ready:
- Preheat to 175°C and grease your cake pans with butter, then line the bottoms with parchment circles—I learned the hard way that nonstick spray alone sometimes fails.
- Whisk the dry team:
- Combine flour, sugar, cocoa, baking powder, baking soda, and salt in a large bowl—get your arm ready because this takes about a minute of serious whisking to break up any cocoa lumps.
- Add the wet ingredients:
- Pour in eggs, milk, oil, and vanilla, then beat on medium speed for about 2 minutes until the batter looks smooth and satiny.
- The scary part:
- Slowly stir in that boiling water—the batter will turn shockingly thin, almost like water, and you will think something went wrong, but this is exactly right.
- Bake:
- Divide between your prepared pans and bake for 30 to 35 minutes until a toothpick comes out with just a few moist crumbs, not wet batter.
- Cool completely:
- Let them rest in the pans for 10 minutes, then turn them out onto wire racks—frosting warm cake is a disaster I have made too many times.
- Make the frosting:
- Beat butter until its pale and fluffy, then sift in the cocoa and mix until combined—no one wants powdery bits in their frosting.
- Add sweetness:
- Gradually add powdered sugar and milk, alternating between them, until you have a thick spreadable consistency that holds its shape.
- Assemble:
- Spread a generous layer of frosting on your first cake, top with the second layer, then coat the entire thing—use an offset spatula and dont obsess over perfection.
 Pin It
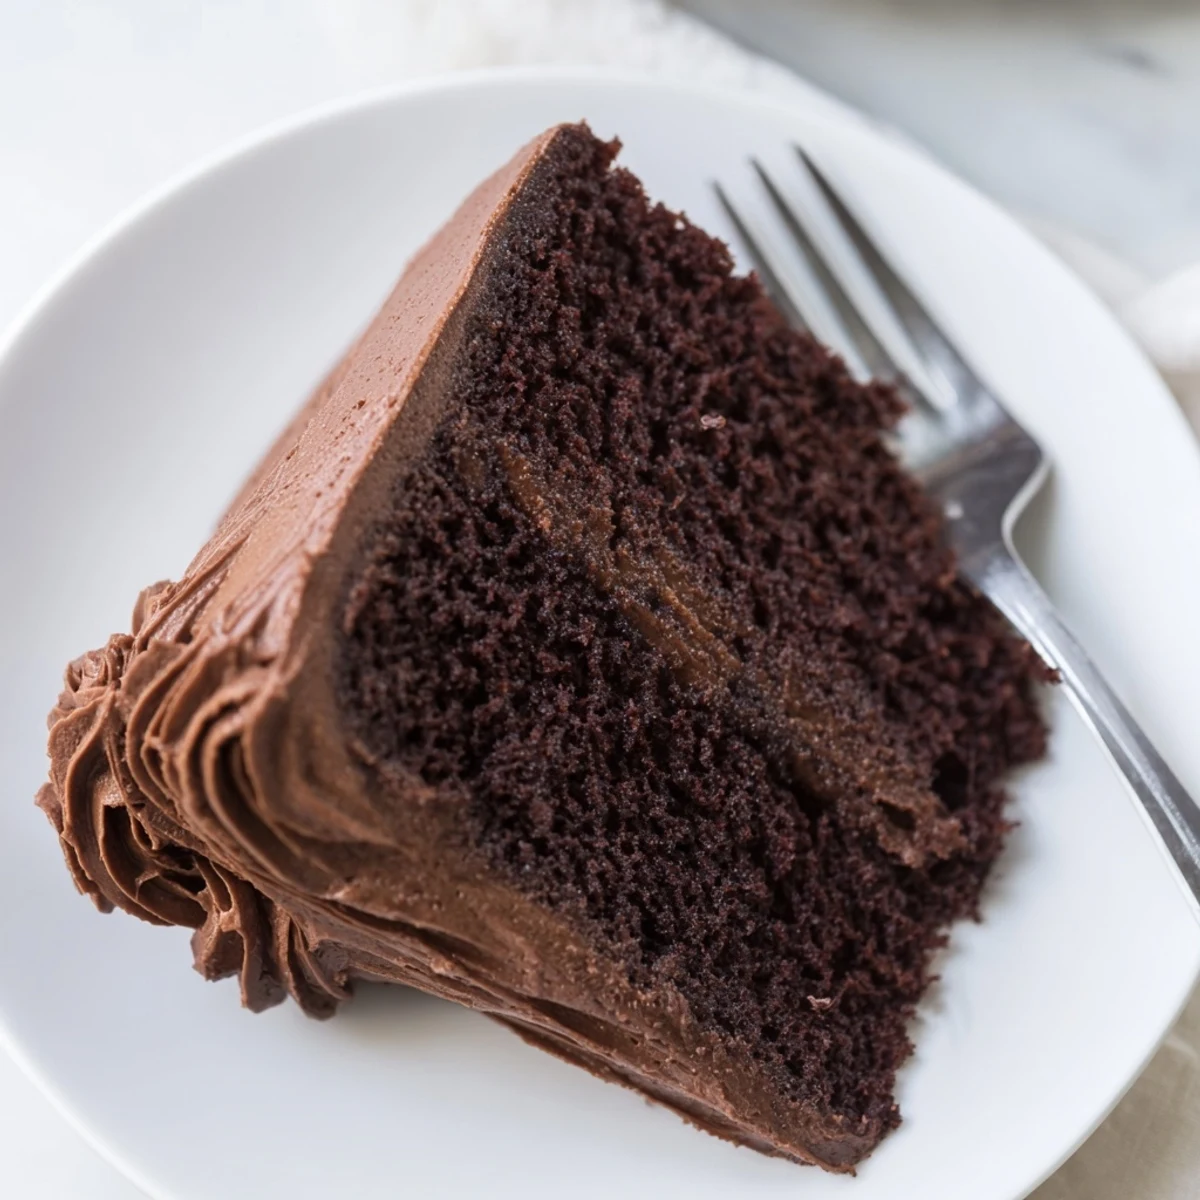
 My daughter requested this for her eighth birthday, and watching her face light up when she saw that familiar chocolate cake with its dramatic swoops of frosting made all the effort worth it. She took one bite and declared it better than the bakery version.
Making It Your Own
Ive learned that substituting sour cream for half the milk creates an almost cheesecake-like richness that people cannot quite identify but absolutely love. The slight tang cuts through all that sweetness in a way milk alone cannot achieve.
The Art of the Swoop
That signature Matilda frosting pattern is easier than it looks. Spin your cake stand with one hand while holding your offset spatula steady with the other, letting the momentum create those dramatic waves. Practice makes perfect, and even imperfect swoops look intentional.
Serving Suggestions
This cake demands attention—it is not a subtle dessert. I have found it pairs surprisingly well with tart berries or a dollop of tangy Greek yogurt to cut through all that richness. Cold milk is the traditional choice, but honestly, a cup of strong coffee holds its own against this much chocolate.
- Slice it with a hot knife for clean edges that photograph beautifully
- Let it sit at room temperature for 20 minutes before serving for the best texture
- Store it in the refrigerator but bring slices to room temperature before eating
 Pin It
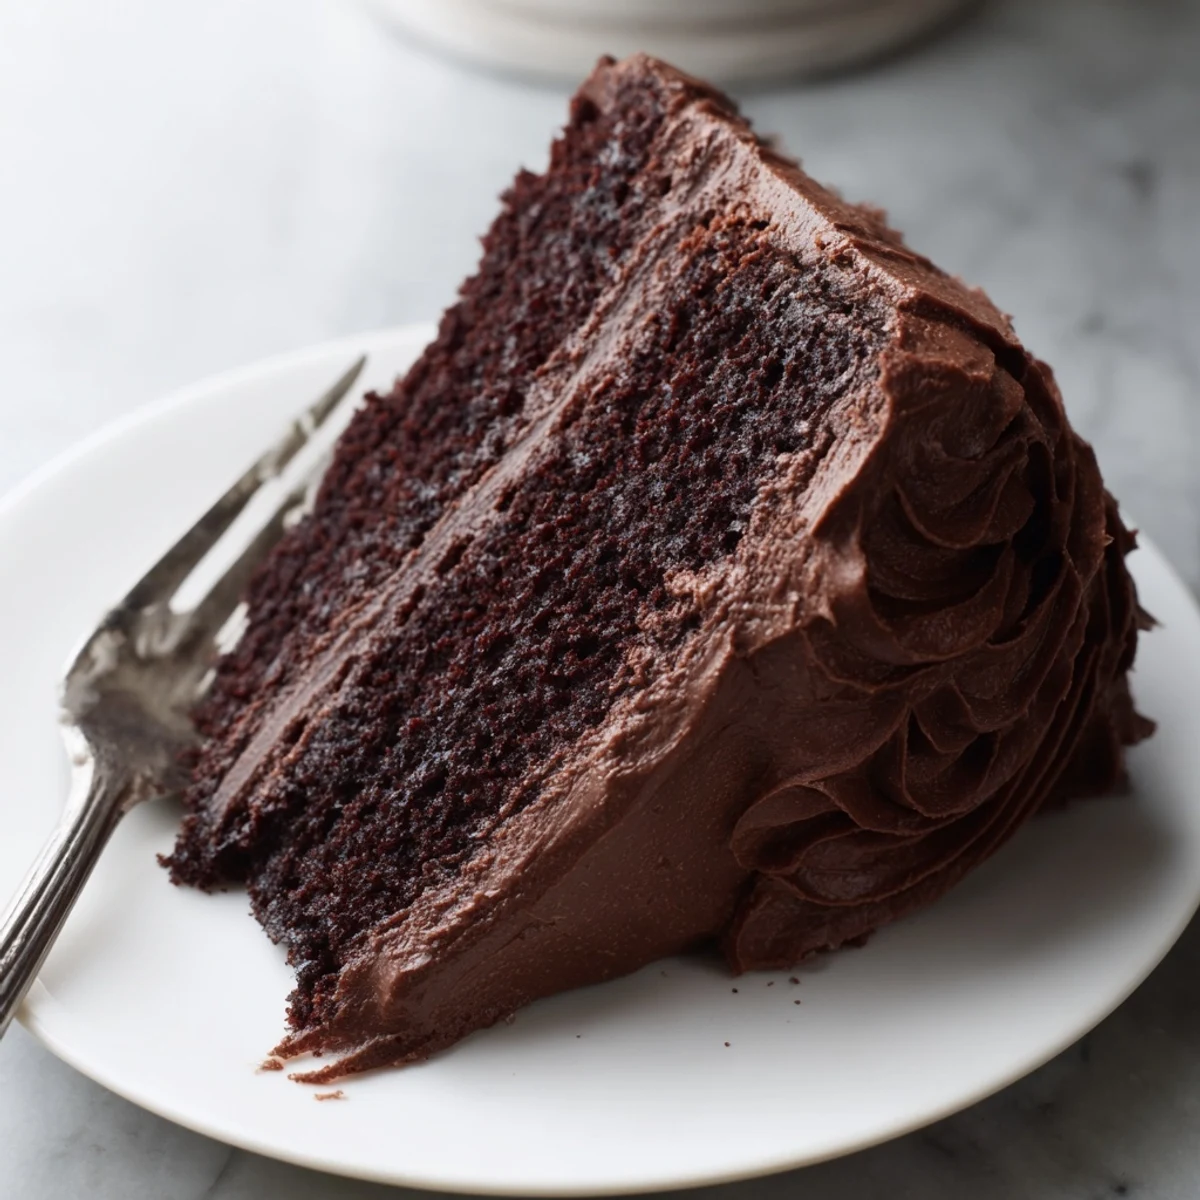
 This is the cake that converts people who claim they do not like dessert. Something about that combination of dark, intense chocolate and silky smooth frosting is almost impossible to resist, no matter how full you are.
Recipe Q&A
- → What makes this chocolate creation so moist?
-
The secret ingredient is boiling water, which activates the cocoa powder and creates an exceptionally tender crumb. The combination of vegetable oil and milk also contributes to the moist texture that stays fresh for days.
- → Can I make the layers in advance?
-
Absolutely. The cooled layers can be wrapped tightly in plastic wrap and stored at room temperature for one day or frozen for up to three months. Thaw frozen layers overnight before frosting.
- → How do I achieve the signature swoops and swirls?
-
Use an offset spatula held at a slight angle to create flowing waves in the frosting. The key is working with slightly chilled frosting and using confident, sweeping motions without overworking the surface.
- → Can I substitute the all-purpose flour?
-
For a gluten-free version, use a high-quality cup-for-cup gluten-free flour blend. Note that the texture may be slightly denser. Almond flour alone won't provide the right structure for this particular creation.
- → How should I store the finished creation?
-
Keep it covered at room temperature for up to three days. For longer storage, refrigerate in an airtight container, though bringing it to room temperature before serving ensures the best texture and flavor.
- → What's the best way to serve this?
-
Slice with a sharp knife dipped in hot water for clean cuts. It pairs beautifully with cold milk, robust coffee, or a glass of red wine. Let it sit at room temperature for 30 minutes before serving if refrigerated.