 Pin It
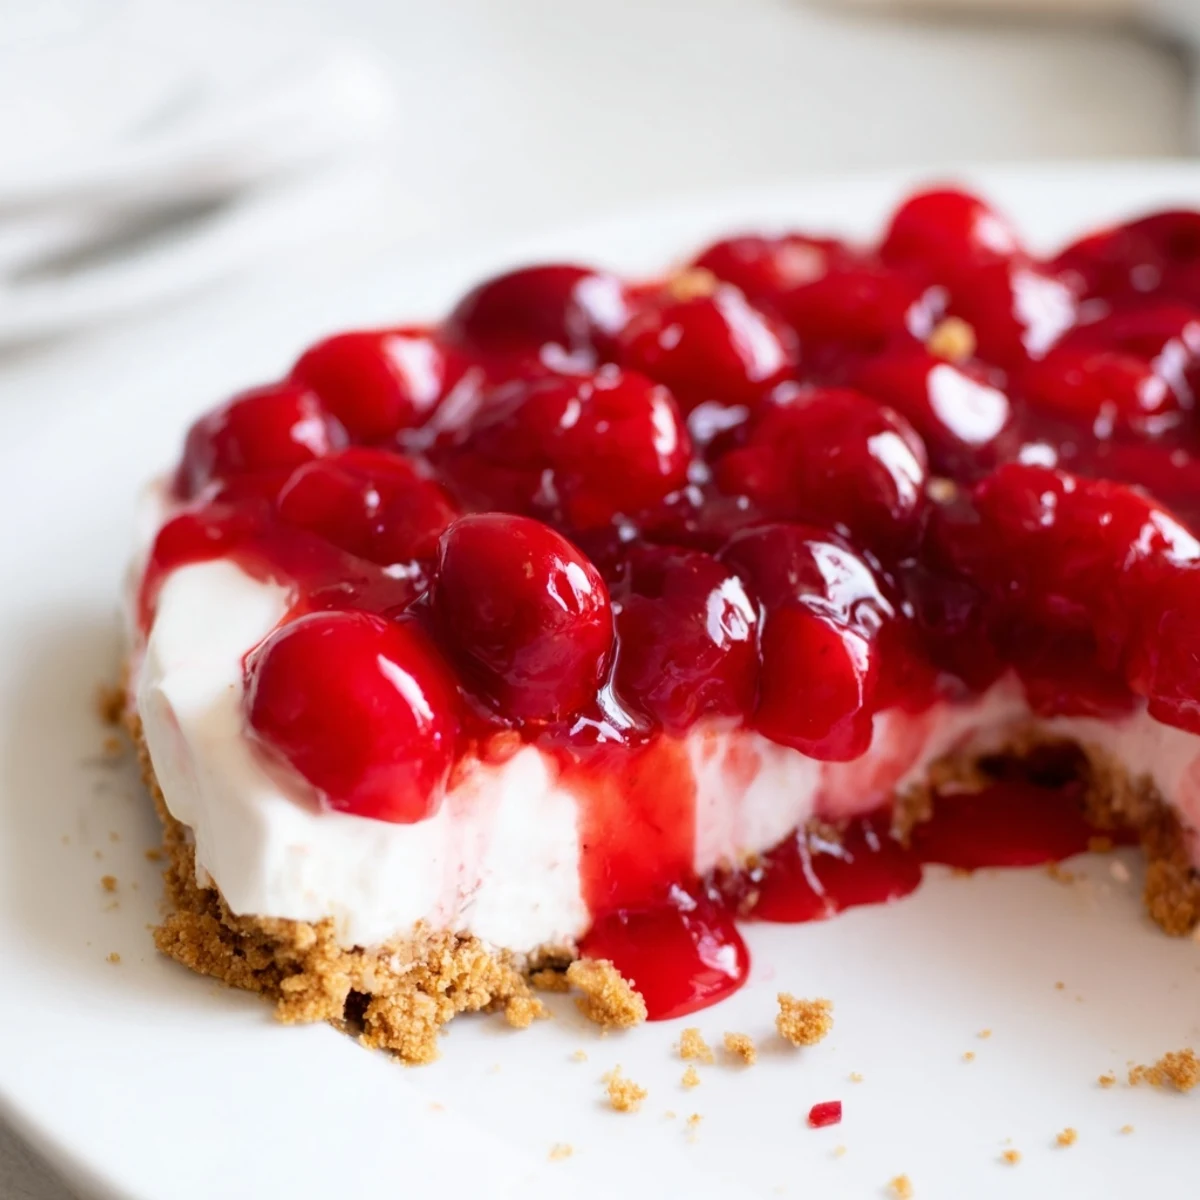
 This classic no-bake dessert combines three irresistible layers into one stunning treat. The foundation starts with a buttery graham cracker crust, pressed firmly into a baking dish for that perfect crunch. Next comes a smooth cream cheese filling, whipped together with powdered sugar and vanilla until light and fluffy. The crowning glory is a generous layer of sweet cherry pie filling that creates a beautiful contrast against the creamy white base.
What makes this cherry delight truly special is how effortlessly it comes together. No oven required—just mix, layer, and chill. The two-hour refrigeration time allows the flavors to meld while the filling sets into sliceable perfection. It's an ideal make-ahead dessert for potlucks, holiday gatherings, or anytime you need something impressive yet simple.
The kitchen counter was covered in flour from another project when my roommate walked in with a container of cherry pie filling and that look in her eye. We ended up making this no bake dessert on a whim, hovering over the 9x13 dish and taking turns with the spatula. Something about those bright red cherries against the cream cheese layer just makes people happy before they even take a bite.
My aunt used to bring a version of this to every summer potluck, and I remember watching adults go back for seconds like they were sneaking something. Now I make it for my own friends and watch the same thing happen. The best part is cutting through those layers and seeing how perfectly they hold together.
Ingredients
- Graham cracker crumbs: Freshly crushed give you the best texture, but store bought work fine too
- Unsalted butter: Melt it completely so it coats every crumb for a crust that actually holds together
- Cream cheese: Let it sit out for an hour so your filling stays smooth instead of lumpy
- Powdered sugar: Sift it if you have the patience to avoid any tiny grainy spots
- Vanilla extract: Pure vanilla makes a difference you can taste
- Whipped topping: Fold it in gently or you will knock all the air out
- Cherry pie filling: Look for one with whole cherries if you want nice bites throughout
Instructions
- Build your foundation:
- Mix graham cracker crumbs with melted butter and sugar until it feels like wet sand. Press it into your dish with the bottom of a measuring cup to get it perfectly even and firmly packed.
- Make the creamy layer:
- Beat softened cream cheese until it is smooth, then add powdered sugar and vanilla. Fold in the whipped topping gently until it is all combined and fluffy.
- Layer it up:
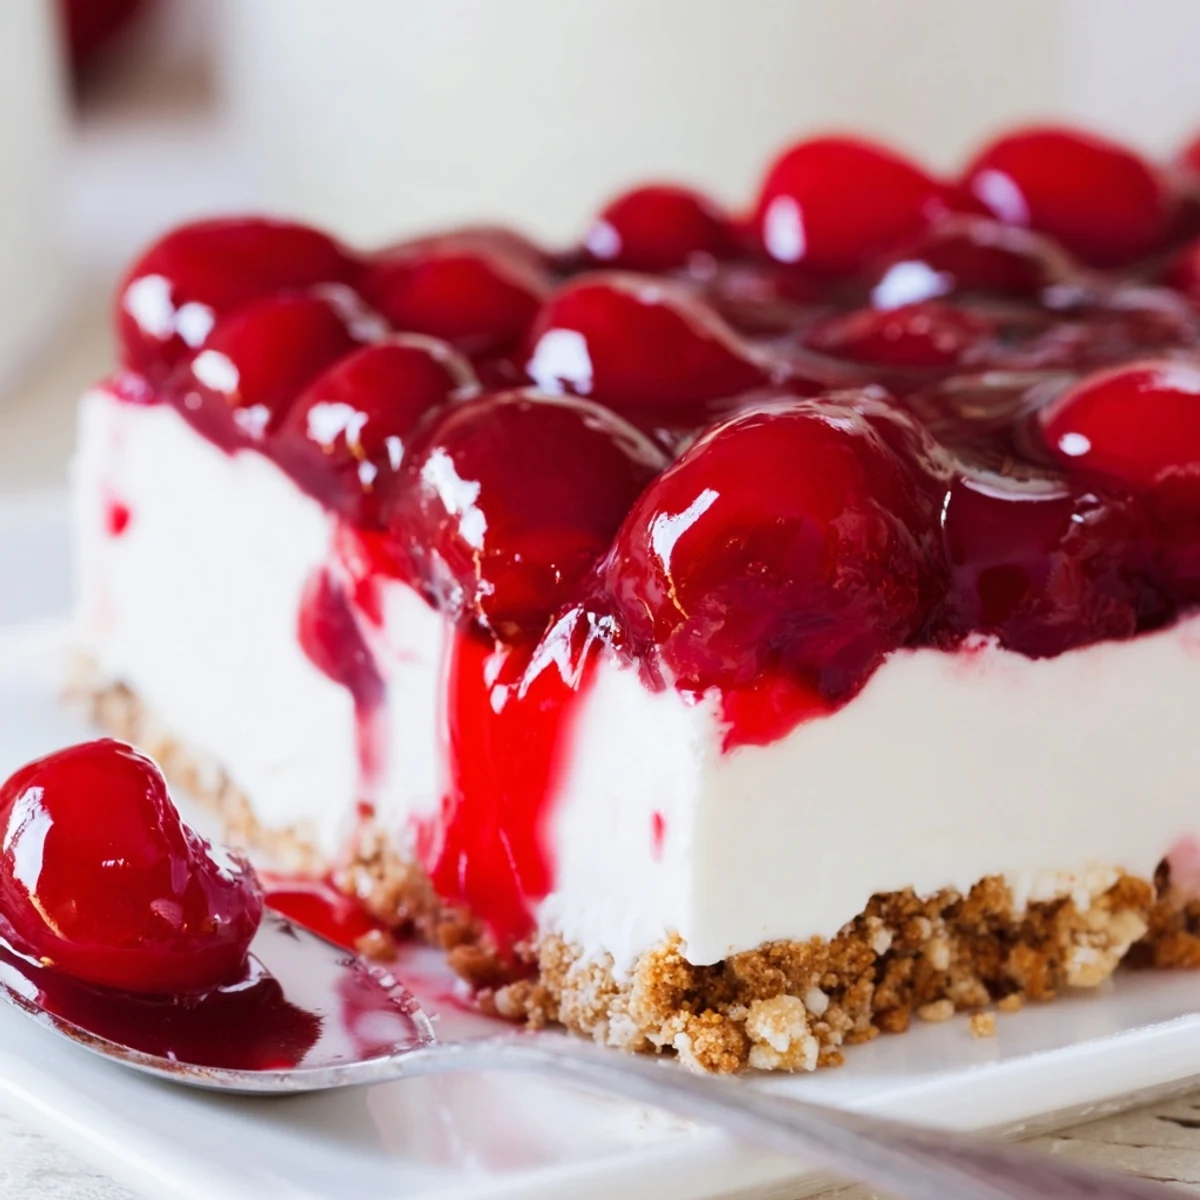
- Spread the cream cheese mixture over your crust in an even layer. Top with cherry pie filling, spreading it just enough to cover without mixing the two layers together.
- Chill and set:
- Cover the dish and refrigerate for at least 2 hours. The cream cheese layer firms up beautifully and cutting clean squares becomes so much easier.
 Pin It
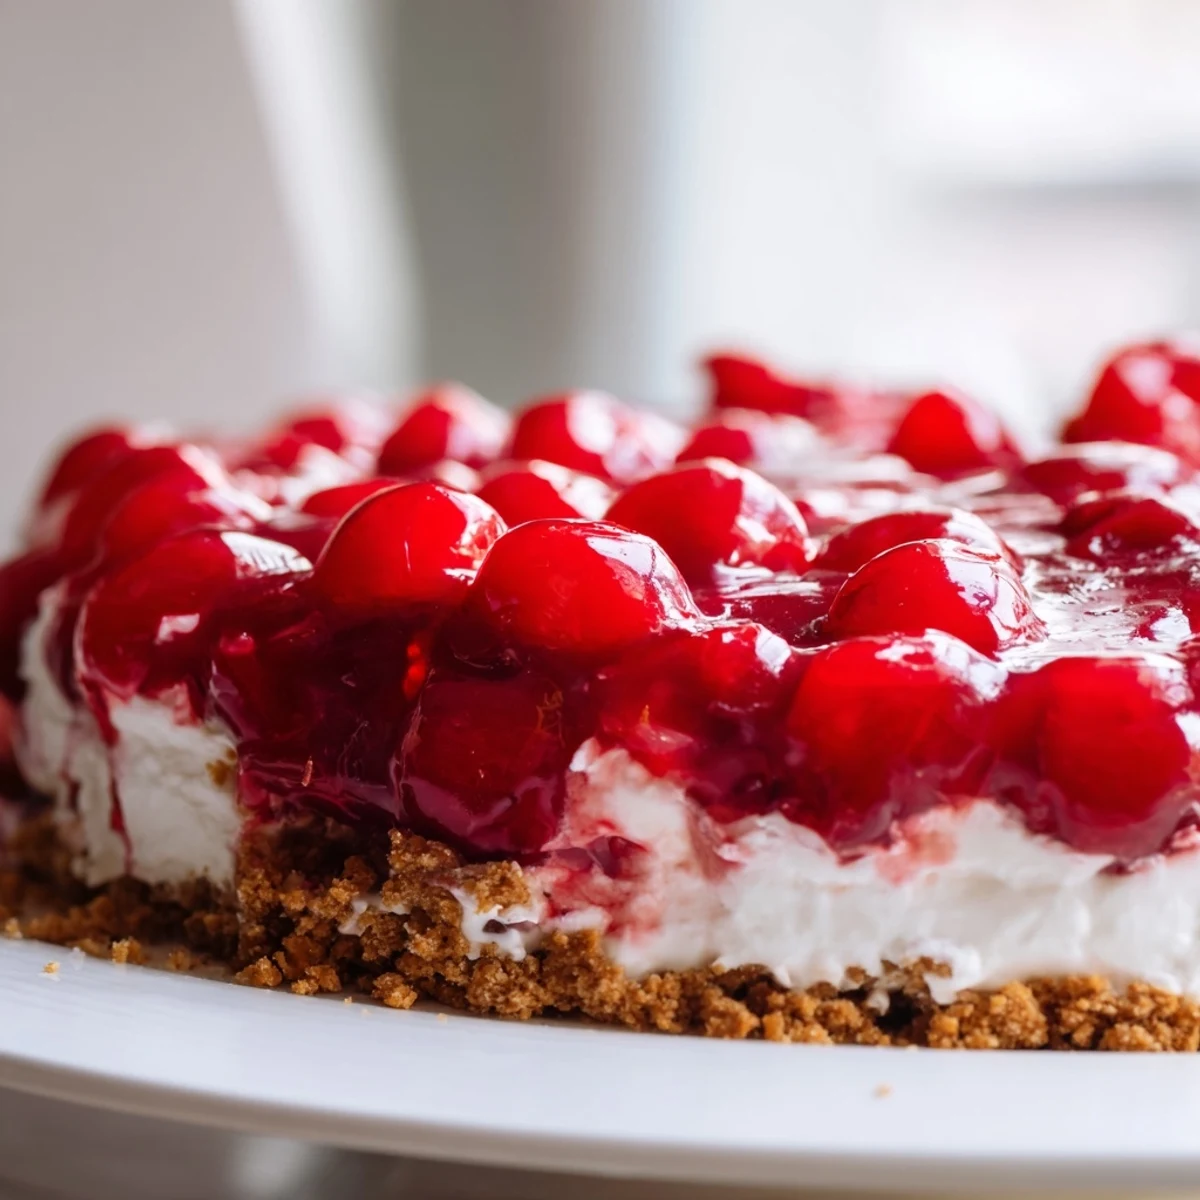
 Last summer I made three of these for a backyard barbecue and people kept asking where I bought it. There is something about that combination of tart cherries and sweet cream that just works. Now it is my go to when I need something impressive but do not want to turn on the oven.
Making It Your Own
Sometimes I add a layer of fresh cherries between the cream cheese and pie filling for extra fruitiness. You could also sprinkle some mini chocolate chips over the crust before adding the cream cheese mixture.
Serving Suggestions
This needs to be served cold straight from the refrigerator. I like to let it sit out for about 5 minutes before cutting so the crust softens slightly.
Storage and Make Ahead Tips
The texture actually improves after a day in the fridge as the flavors meld together. Cover it tightly with plastic wrap and it will last up to 4 days.
- Use a sharp knife wiped clean between cuts for the neatest squares
- You can freeze individual portions for up to a month
- Let frozen slices thaw in the refrigerator for best results
 Pin It
 Somehow this dessert manages to feel nostalgic and fresh at the same time. Every time I serve it, someone asks for the recipe.
Recipe Q&A
- → Can I use fresh cherries instead of pie filling?
-
While you can use fresh cherries, you'll need to cook them down with sugar and cornstarch to create a thickened filling similar to pie filling. Canned cherry pie filling provides the right consistency and ensures the layers don't become watery.
- → How long should this chill before serving?
-
Refrigerate for at least 2 hours to allow the layers to set properly. For best results, chill 4 hours or overnight. This makes it perfect for preparing the day before serving.
- → Can I make this gluten-free?
-
Yes! Substitute graham cracker crumbs with gluten-free vanilla wafer crumbs or gluten-free graham-style crumbs. Ensure all other ingredients, especially the whipped topping, are certified gluten-free.
- → How should I store leftovers?
-
Cover tightly with plastic wrap or aluminum foil and refrigerate for up to 5 days. The graham crust may soften slightly over time but the dessert will remain delicious. Avoid freezing as it can alter the texture.
- → Can I use homemade whipped cream instead of whipped topping?
-
Absolutely. Whip 1½ cups of heavy cream with 2 tablespoons powdered sugar until stiff peaks form. The homemade version may be slightly richer but works beautifully in this layered dessert.
- → What other fruit toppings work well?
-
Blueberry, strawberry, raspberry, or mixed berry pie filling all make excellent substitutions. You can also create a combination layer with multiple fruit flavors for a colorful presentation.