 Pin It
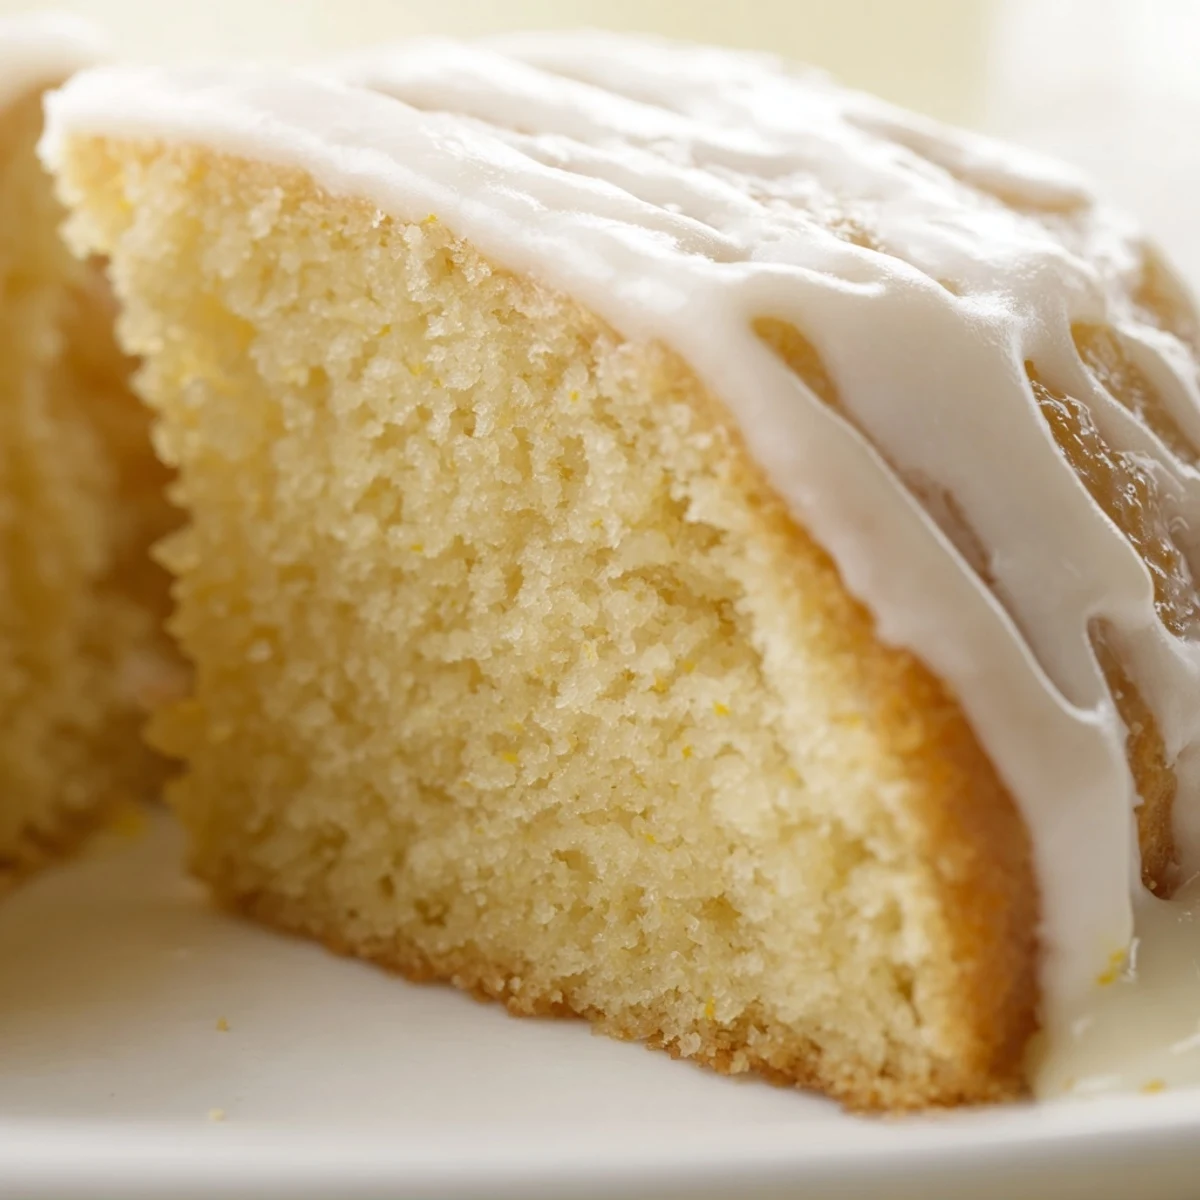
 This classic crowd-pleasing dessert features a tender vanilla sponge with a sweet, simple glaze. The cake comes together quickly with pantry staples, making it perfect for last-minute gatherings. Buttermilk ensures exceptional moisture, while the traditional 9x13 pan size yields generous portions for church suppers, potlucks, and community events.
The straightforward preparation method alternates flour and buttermilk for a perfectly tender crumb. After cooling, a quick vanilla glaze adds just the right amount of sweetness. This versatile base welcomes variations like citrus zest or chopped nuts while maintaining its beloved character.
There's something about a cake that travels well from church potluck to family reunion that feels like it holds a little extra love. I first discovered this recipe when my neighbor brought one over after I'd moved into a new apartment, that simple vanilla scent making an unfamiliar kitchen feel like home immediately. The way the glaze settles into the warm crumb creates this tender, almost pudding-like texture that keeps people coming back for just one more square.
I made three of these cakes back-to-back for my daughter's school bake sale last spring, and watching them disappear within the first twenty minutes taught me everything I need to know about why this recipe works. One grandmother actually cornered me to ask if I'd used some secret ingredient, looking genuinely disappointed when I told her it was just good butter and proper mixing. That moment convinced me that sometimes the most unassuming recipes are the ones people remember most.
Ingredients
- 2 1/2 cups all-purpose flour: The foundation that gives this cake structure while still staying tender, and measuring it properly by spooning into the cup and leveling off makes all the difference.
- 2 tsp baking powder and 1/2 tsp baking soda: This combination creates the perfect lift and golden-brown crust that church potluck cakes are known for.
- 1/2 tsp salt: Don't skip this, it balances the sweetness and actually enhances the vanilla flavor in ways you wouldn't expect.
- 1 cup unsalted butter, softened: Room temperature butter that still holds a slight indent when pressed creates the ideal base for creaming, which is the secret to that tender texture.
- 1 3/4 cups granulated sugar: Creaming this thoroughly with the butter creates those tiny air pockets that make the cake so light and airy.
- 3 large eggs: Also at room temperature, these add structure and richness while helping bind everything together into that perfect sponge.
- 1 tbsp vanilla extract: Use pure vanilla here, not imitation, because this simple cake relies entirely on that classic vanilla flavor.
- 1 cup buttermilk: The acid in buttermilk tenderizes the gluten and reacts with the baking soda for extra lift, plus it adds a subtle tang that keeps the cake from being cloyingly sweet.
- 1 1/2 cups powdered sugar: Sifted first to prevent any lumps in your glaze, this creates that classic church social frosting that sets just right.
- 2-3 tbsp milk: Start with 2 tablespoons and add more only if needed, because you want the glaze thick enough to stay put but thin enough to pour beautifully.
- 1/2 tsp vanilla extract: A little extra vanilla in the glaze ties everything together and makes the whole cake taste even more vanilla-forward.
Instructions
- Get your oven and pan ready:
- Preheat your oven to 350°F and generously grease and flour a 9x13-inch baking dish, making sure to get into all the corners so the cake releases perfectly later.
- Whisk your dry ingredients:
- In a medium bowl, combine the flour, baking powder, baking soda, and salt, whisking them together thoroughly so everything is evenly distributed.
- Cream butter and sugar:
- Beat the softened butter and sugar with an electric mixer for about 3 minutes until it's pale and fluffy, which creates the base for that tender texture everyone loves.
- Add eggs and vanilla:
- Add the eggs one at a time, beating well after each addition and scraping down the sides, then mix in the vanilla extract until fully incorporated.
- Combine everything:
- Add the flour mixture and buttermilk alternately, starting and ending with the flour, and mix only until just combined to avoid developing too much gluten.
- Bake to golden perfection:
- Spread the batter evenly in your prepared pan and bake for 30 to 35 minutes until a toothpick inserted in the center comes out clean.
- Cool completely:
- Let the cake cool in the pan for 15 minutes before transferring to a wire rack, because rushing this step can cause the cake to break apart.
- Make the glaze:
- Whisk together the powdered sugar, milk, and vanilla until smooth and pourable, adjusting with a little more milk if it's too thick.
- Finish with glaze:
- Drizzle the glaze over the completely cooled cake and let it set for about 30 minutes before slicing into squares.
 Pin It
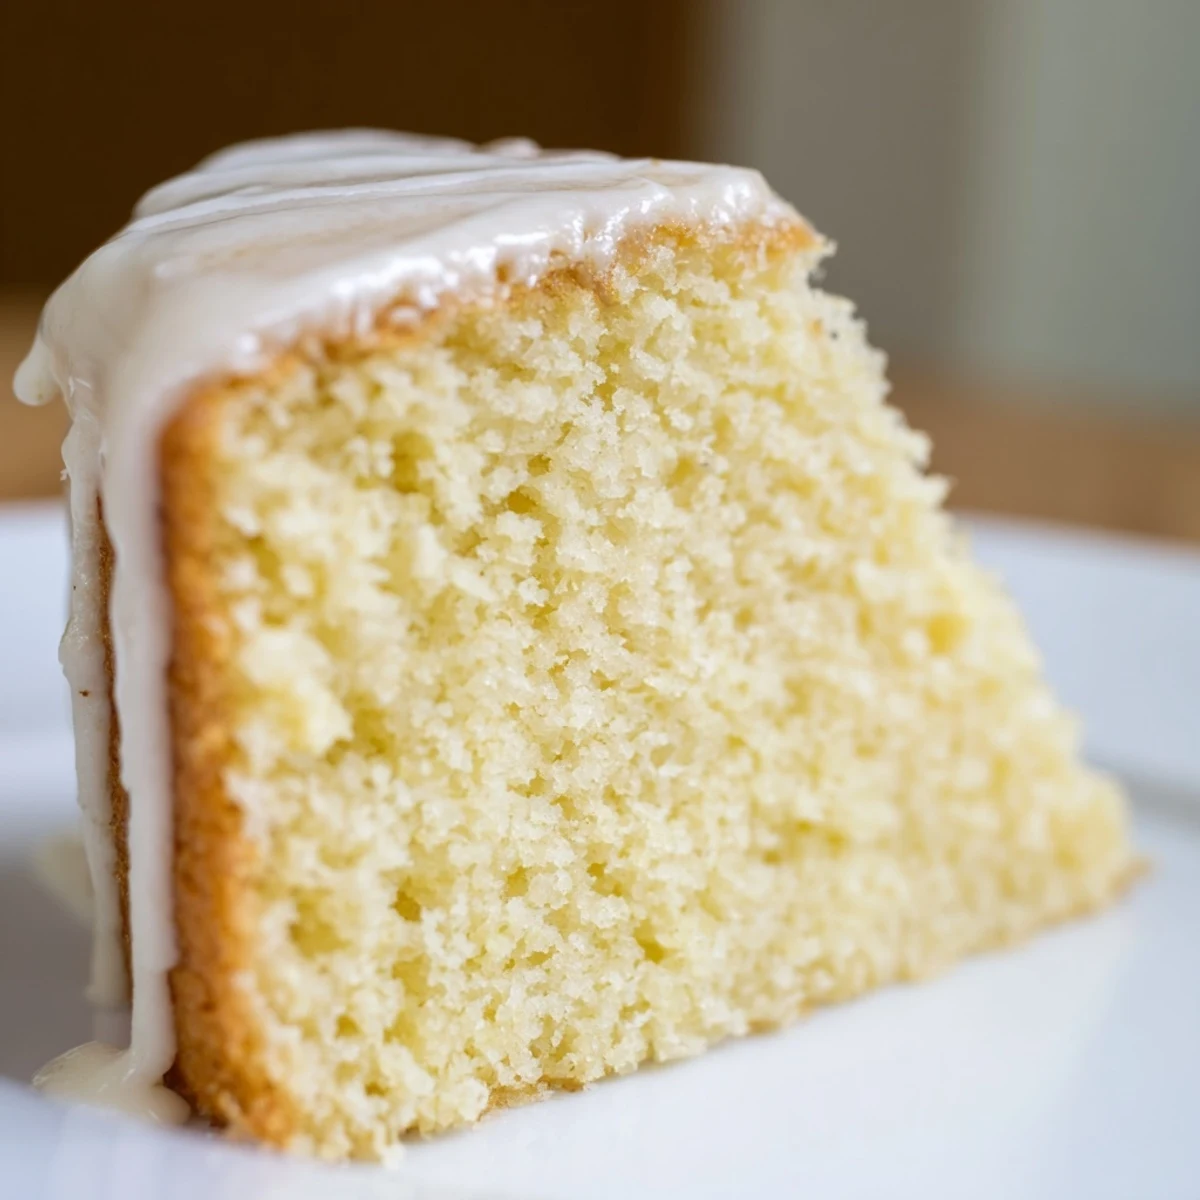
 This cake has become my go-to for every occasion from sympathy meals to birthday celebrations, and I've lost track of how many times someone has asked for the recipe while still holding their paper plate. Something about its unfussy reliability feels like giving someone a hug in food form.
Making It Your Own
I've learned that this cake is incredibly forgiving when it comes to substitutions, which is probably why it's been a church potluck staple for generations. The basic proportions stay the same, but small tweaks can make it feel completely different while still maintaining that characteristic tender crumb.
The Science Behind The Texture
The combination of buttermilk and proper creaming technique is what separates this from an ordinary yellow cake. I discovered this when I once tried rushing the creaming step and ended up with something denser and less tender, teaching me that the three minutes of beating butter and sugar is absolutely essential to the final result.
Serving And Storage Tips
This cake actually tastes better on the second day, once the flavors have had time to meld and the glaze has fully settled into the crumb. I usually bake it the evening before I need it, covering it tightly once it's completely cool.
- Store at room temperature for up to three days, covered with plastic wrap or in an airtight container.
- Freeze unfrosted layers wrapped tightly in plastic and foil for up to three months, then thaw and glaze before serving.
- For potlucks, cut into squares before leaving home so people can easily grab a piece without making a mess.
 Pin It
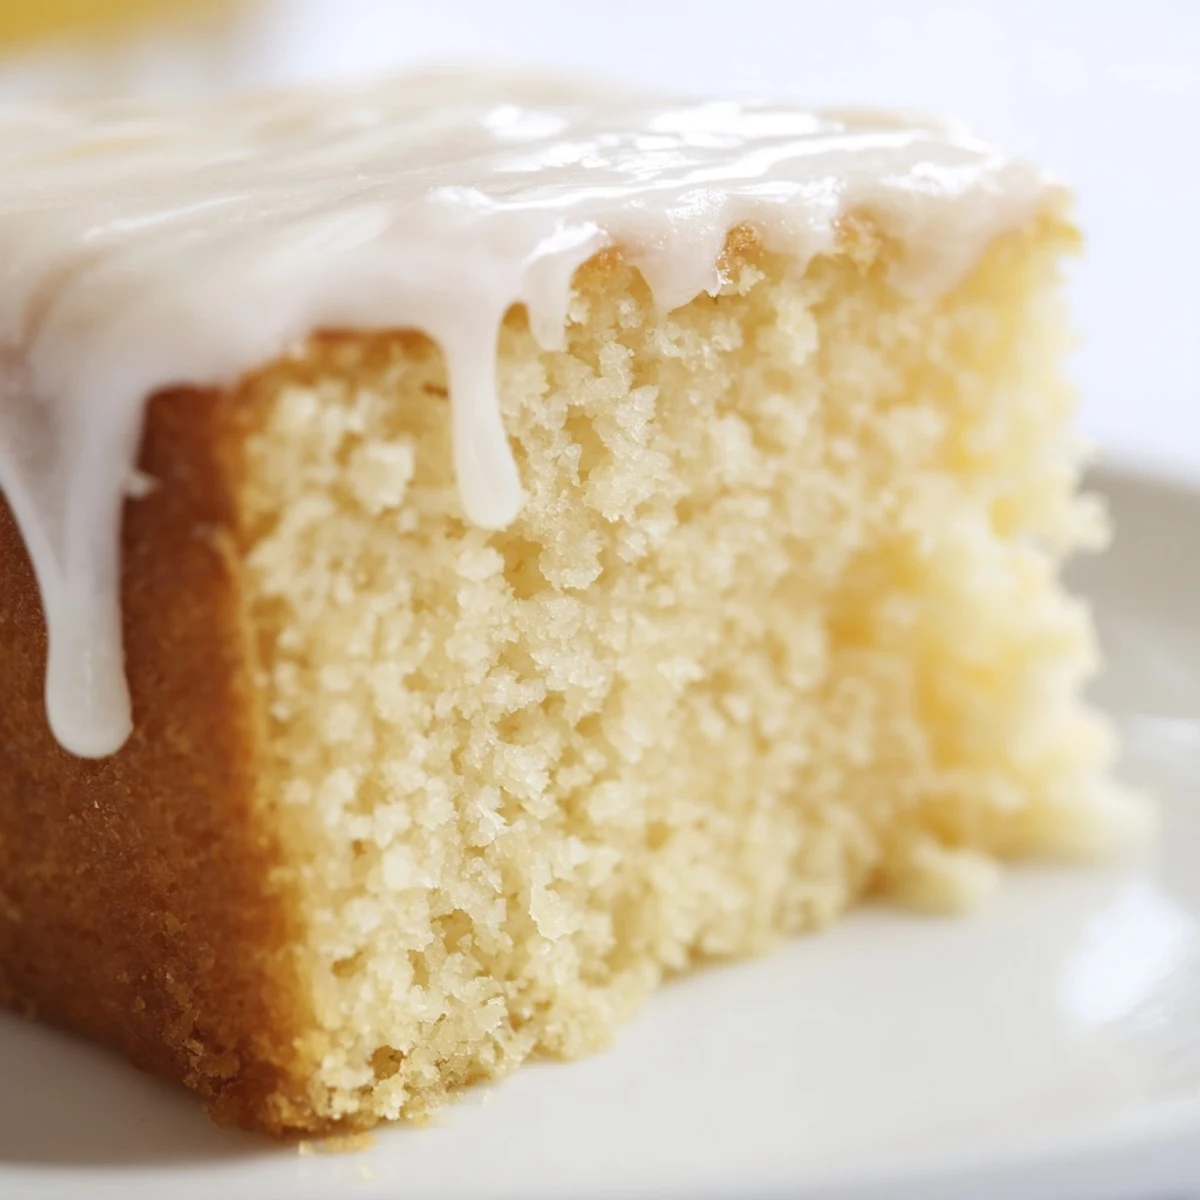
 Every time I pull this cake from the oven and that vanilla scent fills the kitchen, I'm reminded why some recipes become classics while others fade away. This one deserves its place at every gathering.
Recipe Q&A
- → What makes church cake different from regular cake?
-
Church cake is designed for easy transport and serving to large groups. The 9x13 pan format and sturdy but tender texture make it ideal for potlucks and community gatherings where it needs to travel well and serve many people.
- → Can I make this cake ahead of time?
-
Yes, the cake can be baked one day in advance. Wrap it tightly once cooled and add the glaze shortly before serving. The unglazed cake actually benefits from resting overnight as flavors develop and moisture distributes evenly.
- → Why use buttermilk in this cake?
-
Buttermilk's acidity reacts with baking soda for extra lift while creating an exceptionally tender crumb. It also adds subtle tang that balances the sweet glaze and vanilla flavor, making each bite more complex and satisfying.
- → What size pan works best?
-
A 9x13-inch pan is traditional and ideal for this cake. The rectangular shape yields neat squares perfect for serving. If you only have round pans, two 9-inch rounds will work with adjusted baking time of 25-30 minutes.
- → How should I store leftovers?
-
Cover the cake with plastic wrap or aluminum foil and store at room temperature for up to 3 days. The glaze helps keep the cake moist. For longer storage, refrigerate for up to a week, though the texture may become slightly denser when chilled.
- → Can I freeze this cake?
-
Freeze the unglazed cake by wrapping it tightly in plastic wrap and foil for up to 3 months. Thaw overnight at room temperature before glazing. Freezing glazed cake isn't recommended as the glaze may become sticky and lose its smooth appearance.